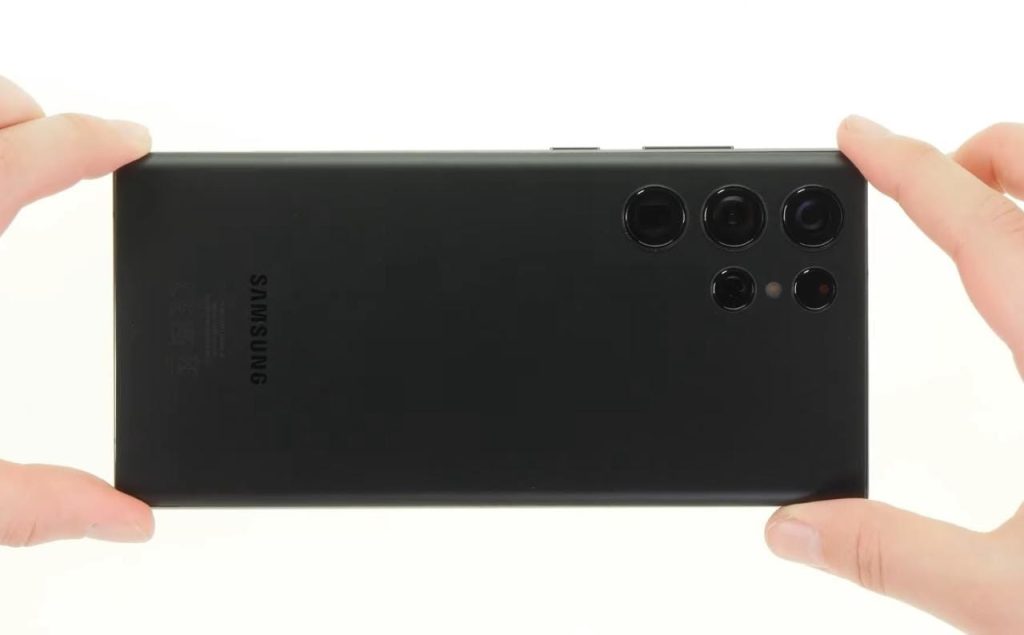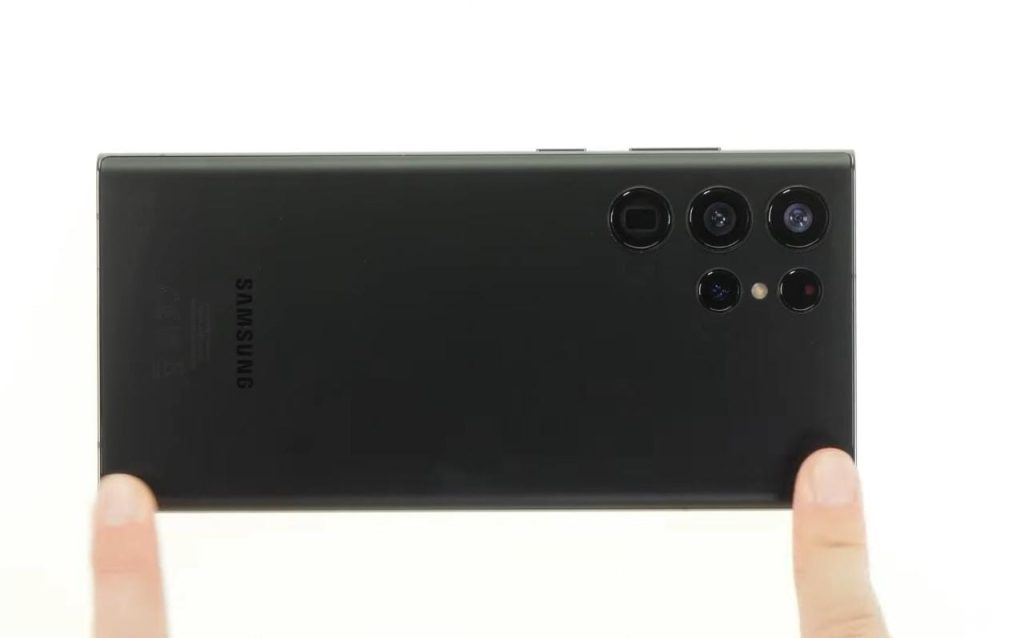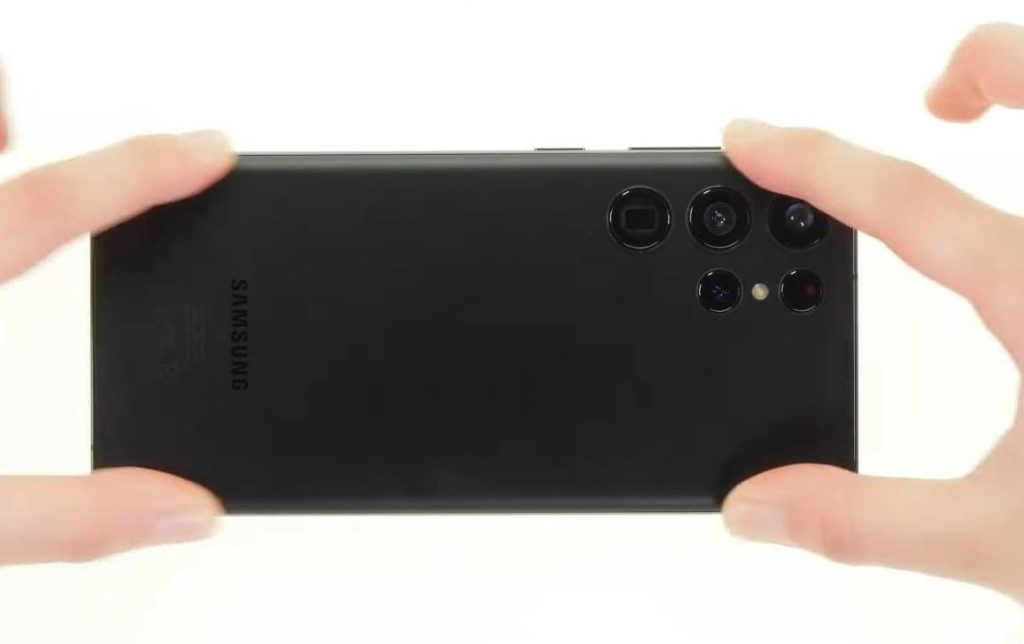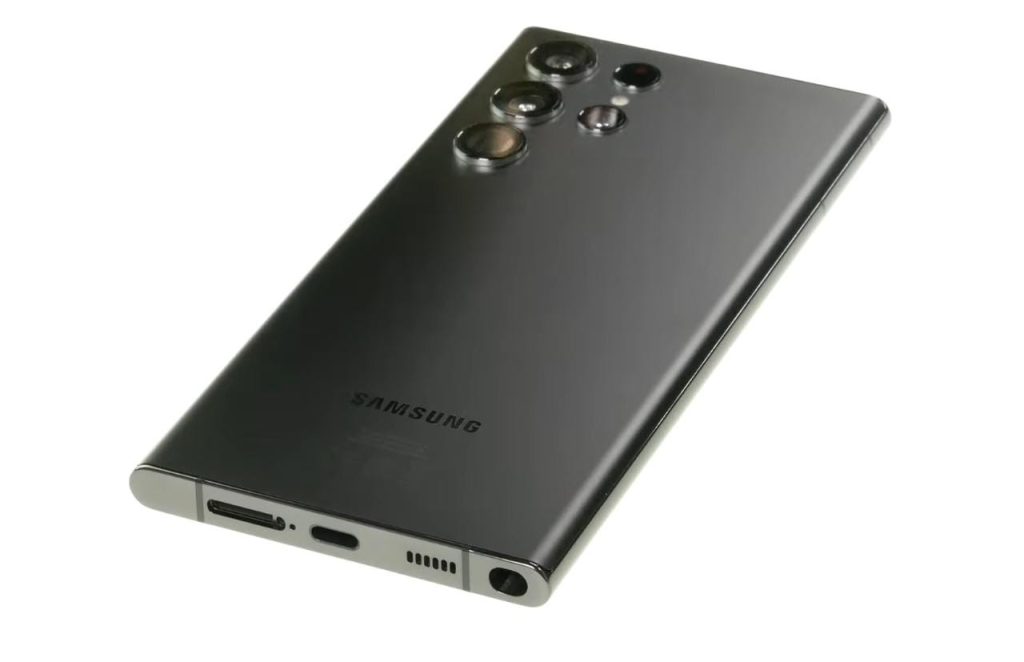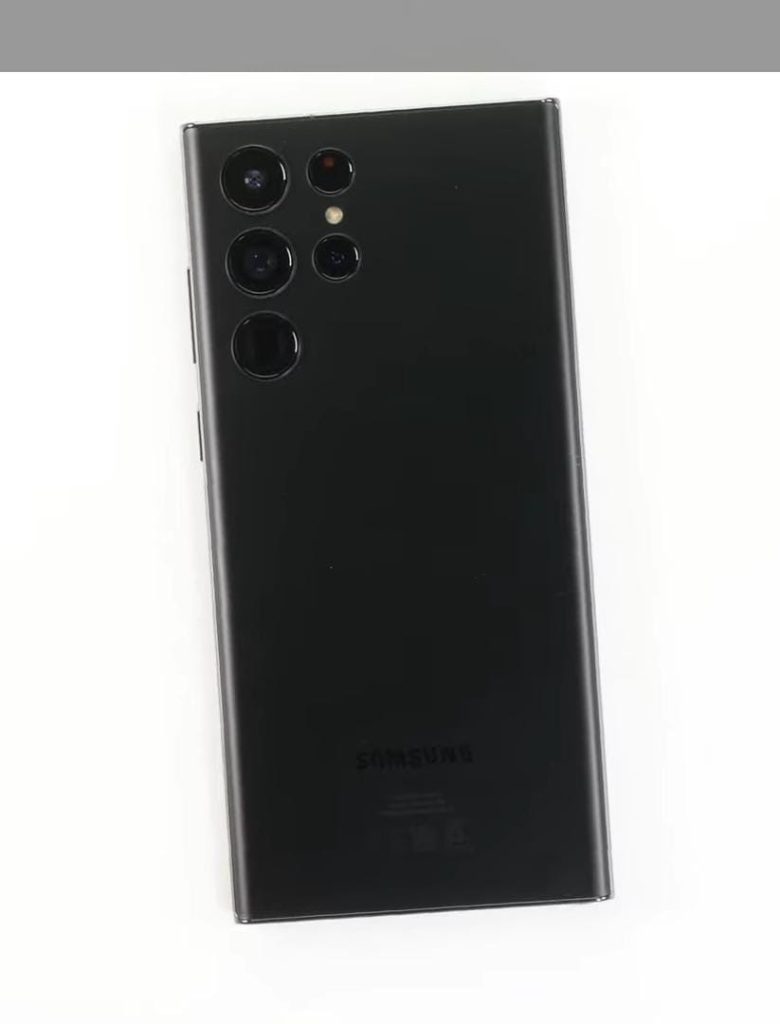

If you need to replace the back cover on your Samsung Galaxy S22, we’ve got you covered. Our comprehensive guide offers an in depth explanation and a step-by-step process to help you successfully replace the back cover of your device. You want to give your Samsung Galaxy S22 a fresh new look? Or address any damages to the back cover, our guide is here to support you every step of the way.
With our clear instructions and helpful tips, you’ll gain the confidence and efficiency to complete this task easily. We know the significance of maintaining the aesthetics and functionality of your smartphone and by following our guide, you can achieve just that.
Get ready to restore the beauty of your device and enjoy a refreshed look that matches its top-notch performance.
Gather the Required Tools:
When replacing the back cover on your Samsung Galaxy S22, you’ll need a few essential tools and components. By having these tools and components at your disposal, you’ll be well-equipped to replace the back cover of your Samsung Galaxy S22 effectively and with confidence.
- Hot Air Device: A hot air device, such as a heat gun or a specialized tool, can be used to apply warm air to specific areas of the device. It helps loosen the adhesive, facilitating the removal of the existing back cover more easily and attaching the new one securely.
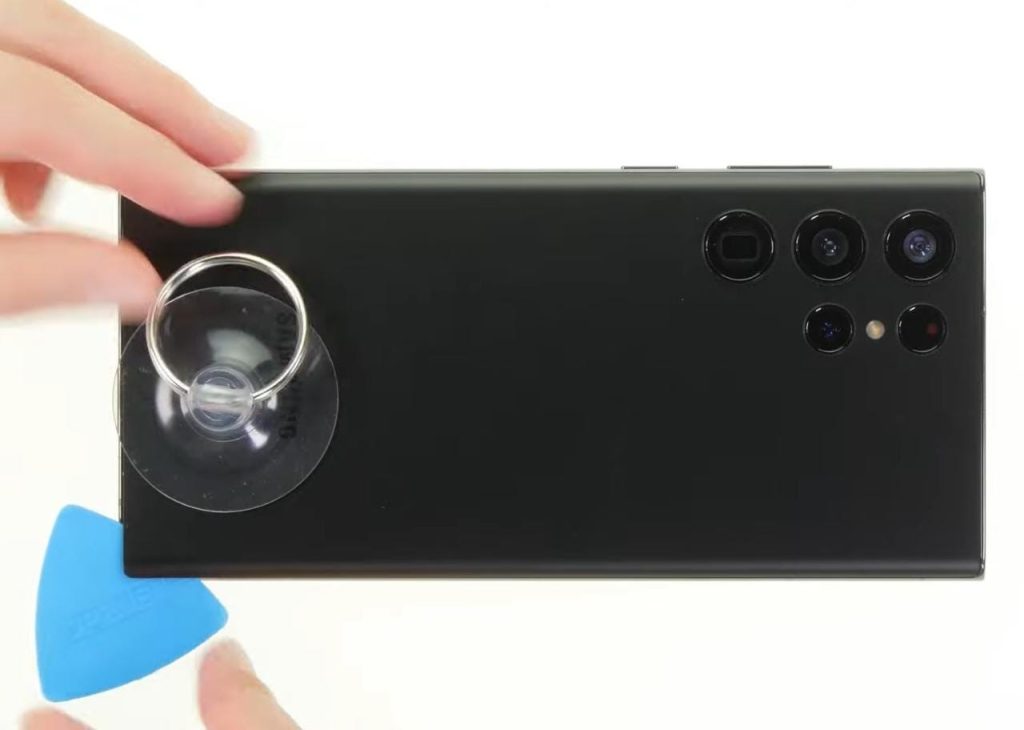
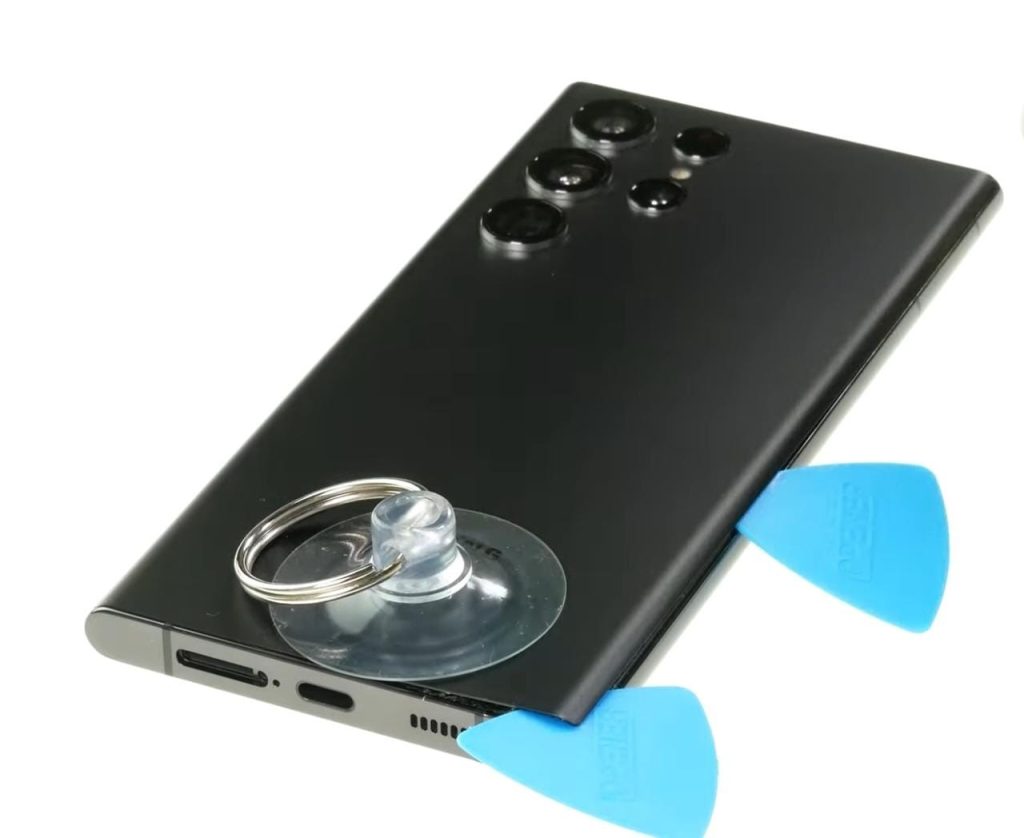
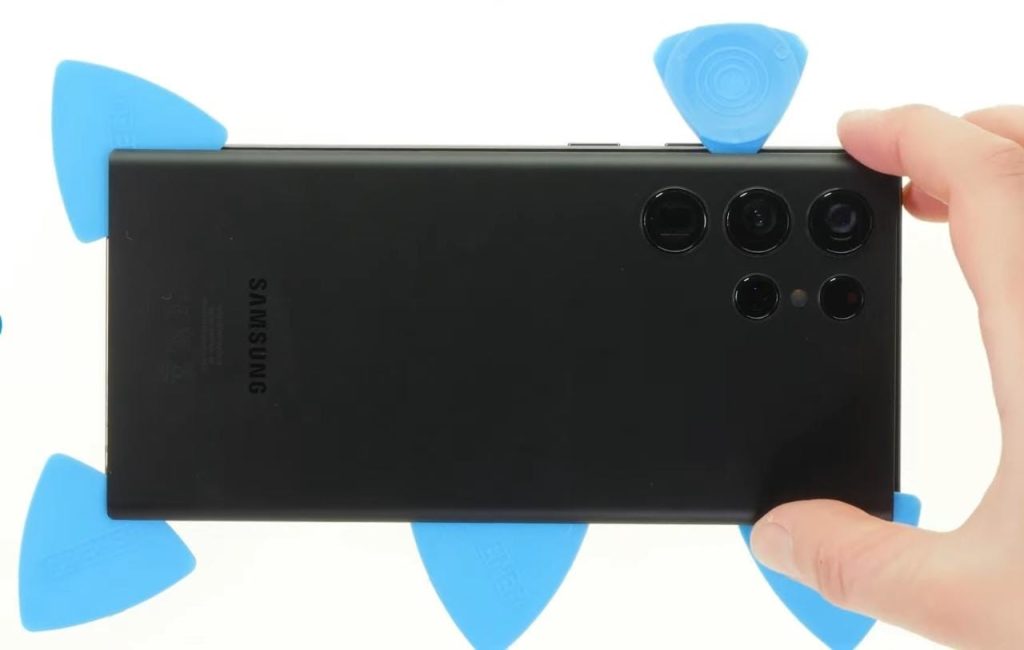
- Picks: Picks or plastic opening tools are handy for safely prying open the back cover and separating it from the device’s frame. They allow you to navigate around delicate components without causing damage.
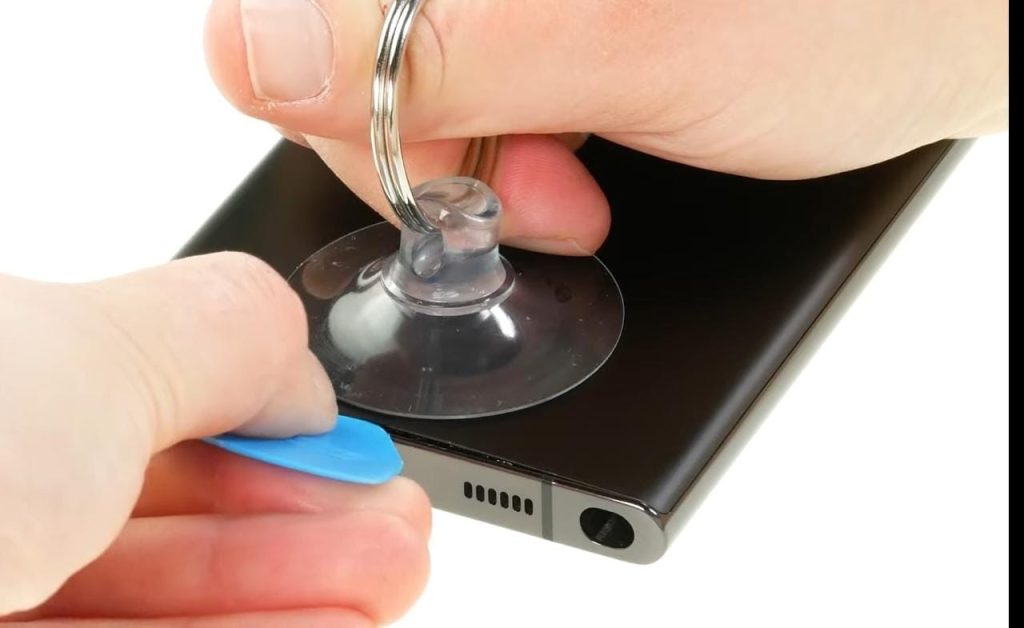
- Suction Cup: A suction cup provides a firm grip and allows you to lift and remove the old back cover without scratching or damaging it.
- Plastic Pry Tool: A plastic pry tool assists in prying open connectors and manipulating small parts without causing harm to the delicate components inside the Samsung Galaxy S22.
- Tweezers: Tweezers come in handy for handling small parts and cables during the replacement process. They provide precision and control when working with intricate components.
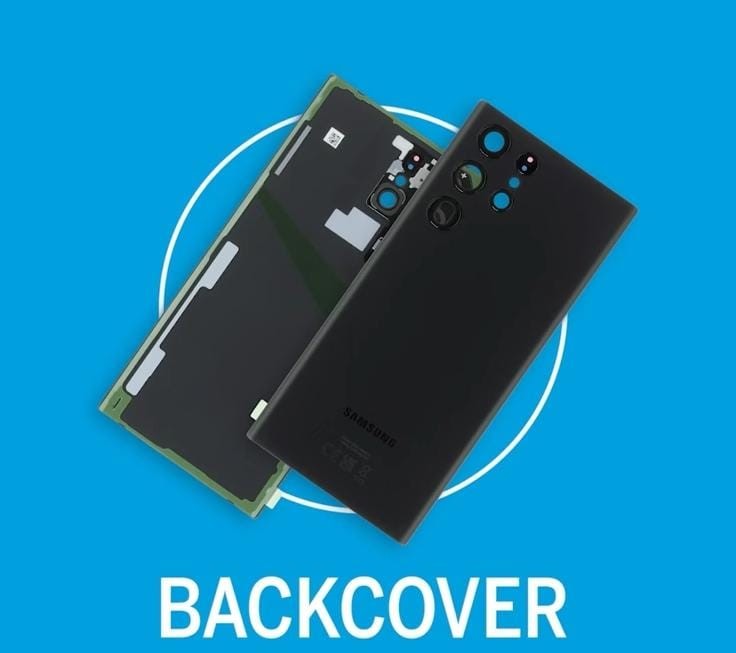
- Replacement Back Cover Designed for Samsung Galaxy S22: It’s crucial to acquire a compatible replacement back cover specifically designed for the Samsung Galaxy S22. This ensures a perfect fit and restores the device’s aesthetics.
Power Down and Remove SIM Card:
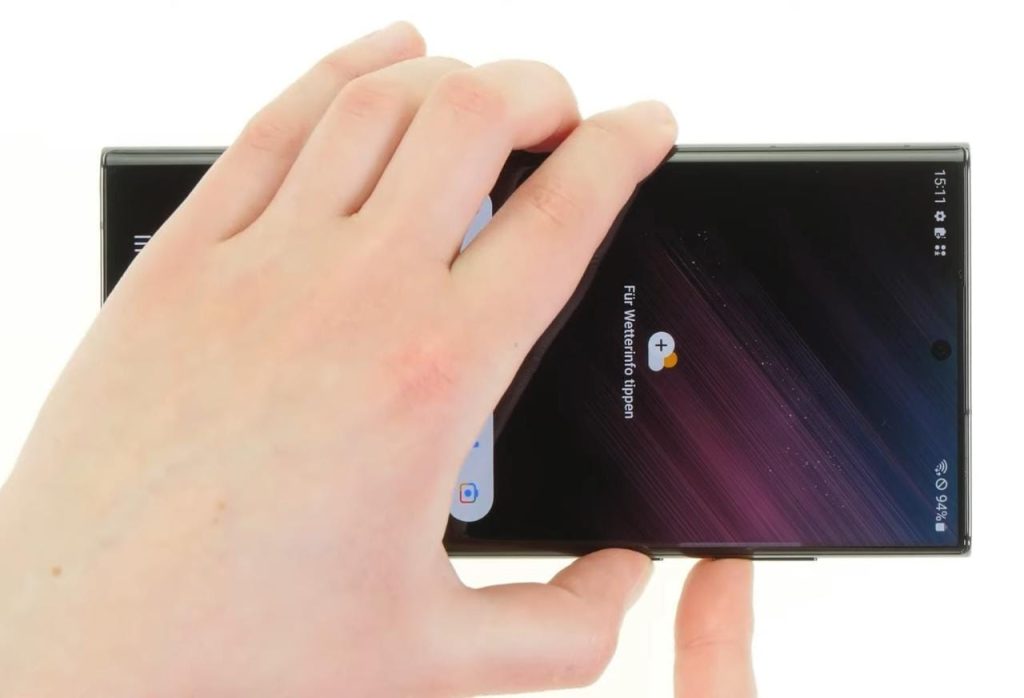
- Power off your Samsung Galaxy S22.
- Find a SIM card tray on the side of the phone.
- Use the SIM card ejector tool or a small paperclip to eject the SIM card tray.
- Gently extract the SIM card tray from the device.
Removing the Back Cover
With all the essential tools and equipment gathered, it’s time to commence the back cover replacement process. Follow these steps carefully to begin:
Prepare the Plastic Pry Tool
- Take a plastic pry tool, specifically designed for phone repairs, and ensure it is clean and free from any sharp edges or debris.
Locate the Small Gap
- Examine the edges of the back cover and the phone’s frame to identify a small gap where you can insert the pry tool.
- Be patient and careful while searching for the gap to avoid unnecessary force or damage to the device.
Insert and Apply Gentle Pressure
- Carefully insert the plastic pry tool into the designated gap between the back cover and phone frame.
- Apply gentle pressure and work around the edges, gradually releasing the clips holding the back cover.
- Be patient and proceed with caution throughout this process to prevent the phone and the back cover.
Work Around the Edges:
- Continue moving along the phone’s edges, gently prying open the back cover and releasing the clips individually.
- Ensure you evenly distribute the pressure and avoid placing excessive force on any specific area.
By practically applying these steps, you can effectively remove the back cover and gently pry open the back cover of your Samsung Galaxy S22, all while ensuring no damage occurs during the process.
Installing the New Back Cover
After successfully removing the old back cover of your Samsung Galaxy S22, it’s time to install the replacement. Follow these steps to ensure a proper and secure fit:
Prepare the New Back Cover
- Ensure that you have the correct replacement back cover designed specifically for the Samsung Galaxy S22.
- Examine the new back cover for any defects or damage before installing.
Align the Back Cover
- Take the new back cover and align it with the phone’s frame, ensuring that all the necessary openings, such as the camera cutout and ports, match up correctly.
- Pay attention to the alignment of the clips on the back cover with the corresponding slots on the phone’s frame.
Start Pressing Down
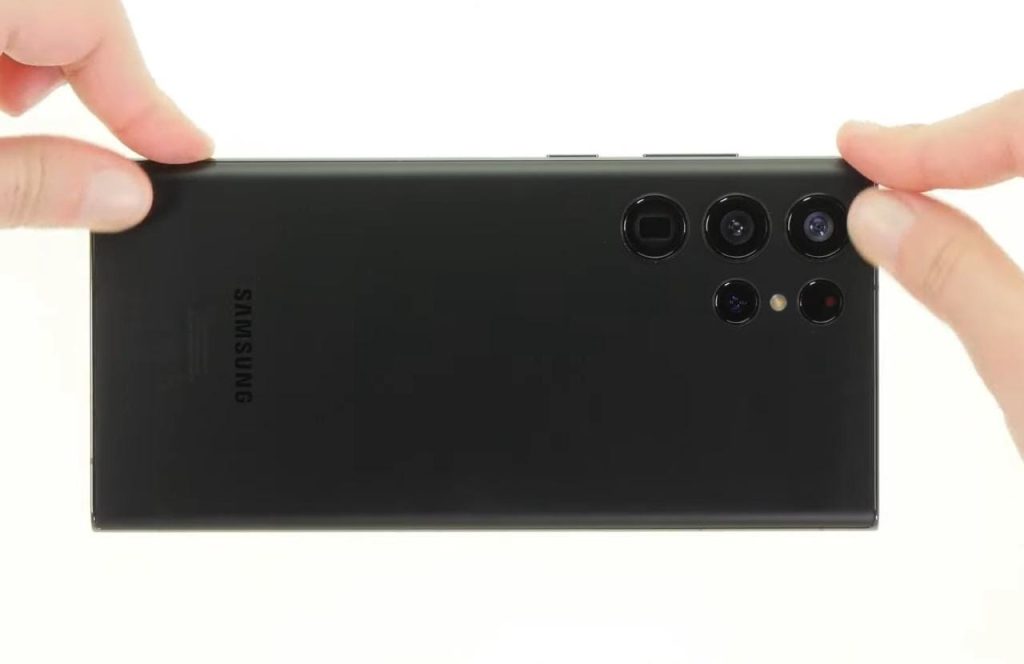
- Begin by gently pressing down on the back cover, starting from one side and gradually moving to the other.
- Apply consistent pressure evenly across the entire surface of the back cover to achieve a snug and secure fit that is uniform throughout.
Listen for Snapping Sounds
- As you press down, listen for snapping sounds, indicating that the back cover clips are locking into place.
- These snapping sounds assure you that the back cover is properly secured to the phone.
Verify the Fit
- After pressing down on the back cover, visually inspect the edges to ensure they are flush with the phone’s frame.
- Check that all the openings align correctly, and there are no gaps or misalignment.
Test the Cover:
- Power on your Samsung Galaxy S22 and test all the functions, including the camera, ports, and buttons, to ensure they work.
- Verify that the back cover is securely attached and does not shift or move when handling the phone.
By carefully aligning and pressing down the new back cover, you can ensure a secure fit and restore the appearance of your Samsung Galaxy S22. Remember to test the phone after installation to confirm everything is functioning as expected.
Insert the SIM Card Tray and Power It On:
Retrieve the SIM card tray and insert it back into the designated slot on the side of the phone. Push the component in until you hear a distinct clicking sound, indicating that it has been securely placed into position. Power on your Samsung Galaxy S22 and ensure all functions are working correctly.
Conclusion:
You have successfully replaced the back cover on your Samsung Galaxy S22 using our step-by-step guide. By following these instructions carefully, you can confidently undertake this repair task without hassle. Remember to exercise patience and precision throughout the process. Enjoy your refreshed Samsung Galaxy S22 with its brand new back cover.

