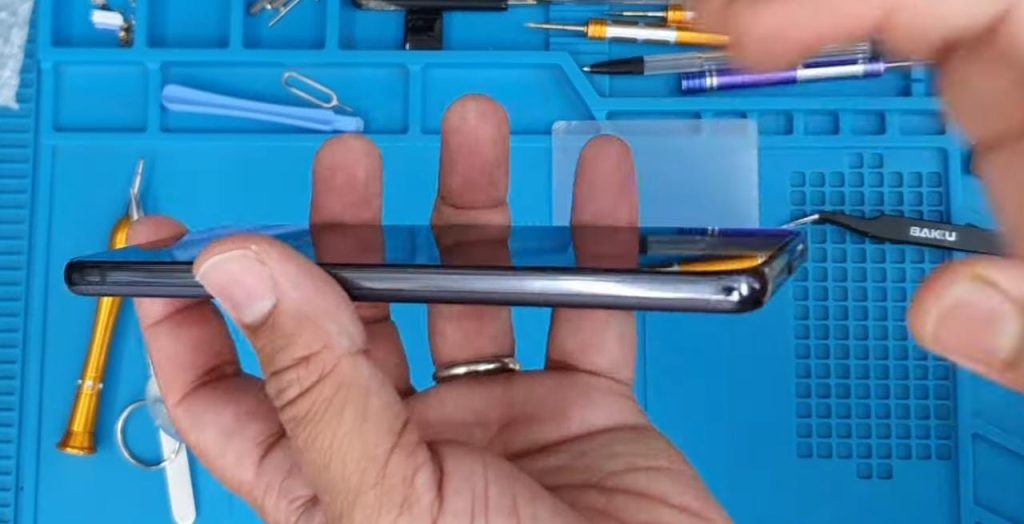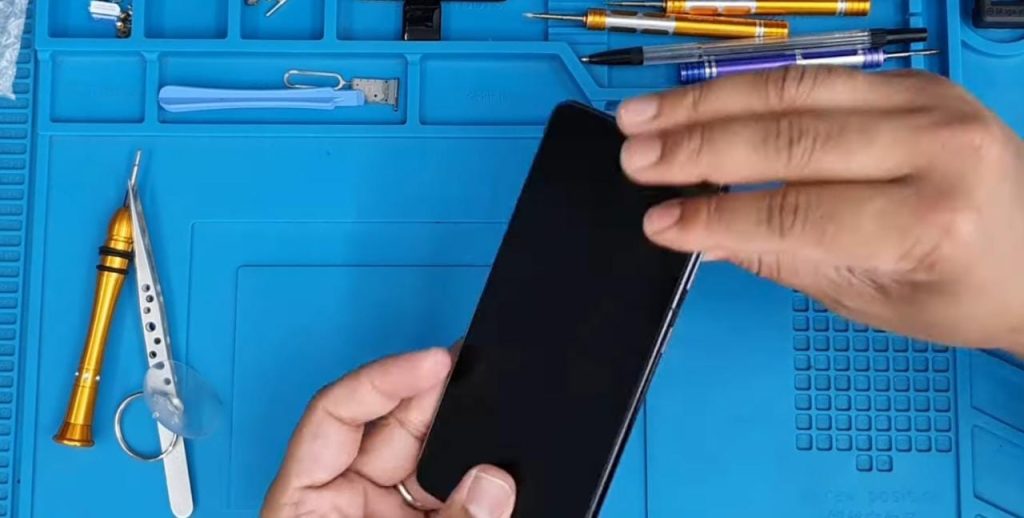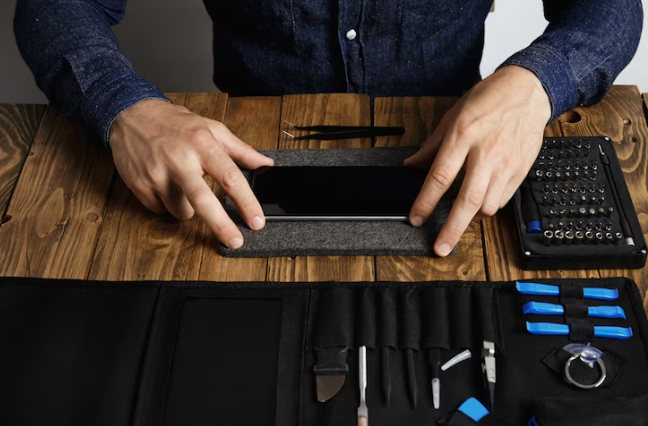

The Samsung Galaxy S21 is a remarkable smartphone with advanced features and functionality, including wireless charging capabilities. However, if you’re experiencing issues with wireless charging, such as slow charging or a complete failure to charge, replacing the wireless charging coil may be necessary.
In this complete guide, we will provide you with step-by-step instructions and guidance on the entire process of replacing the wireless charging coil in your Samsung Galaxy S21.
Get All Repairing Tools
Before we start the replacement process, ensure that you have the necessary tools prepared and easily accessible:
- Replacement Wireless Charging Coil: Ensure you have a compatible wireless charging coil designed specifically for the Samsung Galaxy S21.
- Small Screwdriver Set: You will need a set of small screwdrivers to remove the screws securing the charging coil.
- Plastic Spudger: A plastic spudger will be useful for disconnecting connectors and manipulating small parts without causing damage.
- Tweezers: Tweezers can come in handy for handling small components and cables during the replacement process.
- Adhesive Glue: This will help secure the charging coil in place.
Step-by-Step Guide:
Step 1 – Power Off Your Device
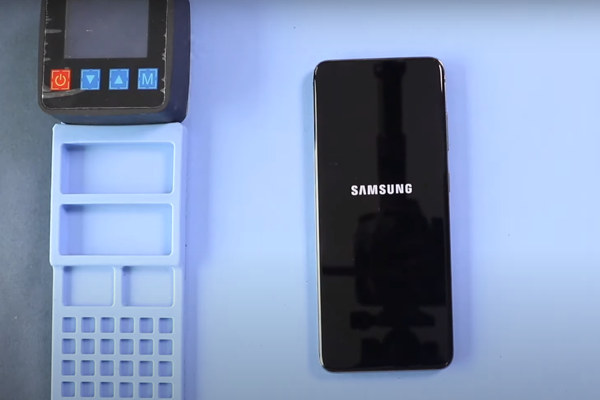
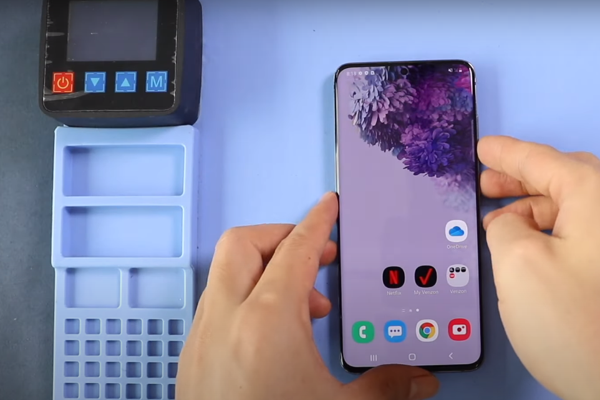
- Power off your Samsung Galaxy S21 before starting the replacement process.
- Press and hold the power button on your device until a menu pops up on the screen.
- Select the option to power off the phone from the menu.
- Wait patiently for the device to fully power off before you continue with the next steps.
- This step ensures safety during the replacement process.
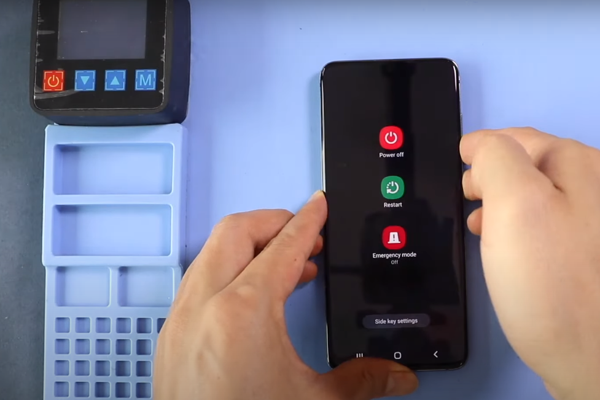
Step 2 – Eject The SIM Tray
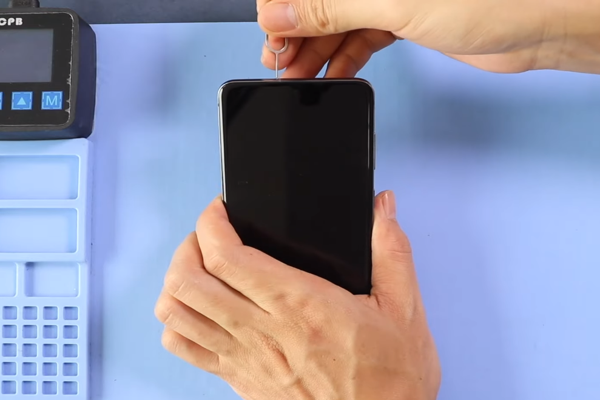
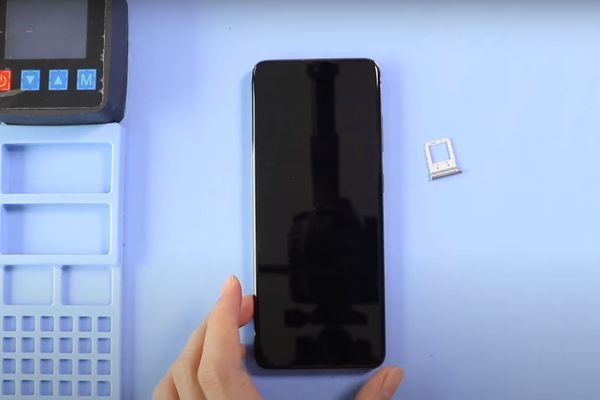
- Locate the small hole near the SIM card slot at the top of your Samsung Galaxy S21.
- Find a SIM ejection tool or a small pin.
- Insert the tool or pin into the hole.
- You may encounter slight resistance as you push the tool or pin into the hole.
- Gently press on the SIM tray to partially or fully pop it out.
- Carefully pull out the SIM tray from the phone using your fingers.
- This step allows you to safely remove the SIM card tray before proceeding with the replacement process.
Step 3 – Heat All Sides Of The Phone
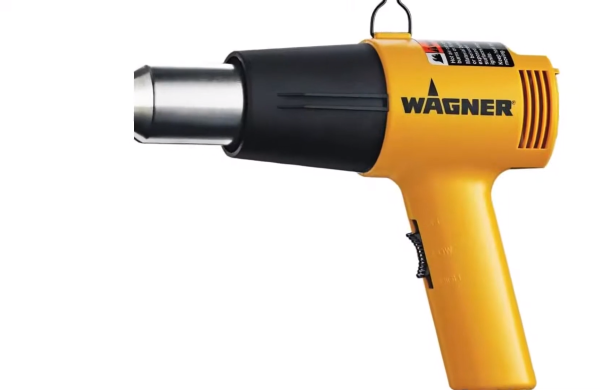
- Prepare a heat gun or hair dryer and set it to a low or medium heat setting.
- Hold the heat gun or hair dryer at a safe distance, about 5-10 centimeters away from the back edges of your Samsung Galaxy S21.
- Begin heating one of the back edges of the phone using a sweeping motion.
- Keep the heat focused on the area for about 3 minutes, moving the heat source back and forth to distribute the heat evenly around all four corners.
- Heating the phone helps soften the adhesive, making it easier to remove components during the replacement process.
- Be cautious not to overheat the device, as excessive heat can damage its internal components.
Step 4 – Slice Adhesive at the Bottom Edge
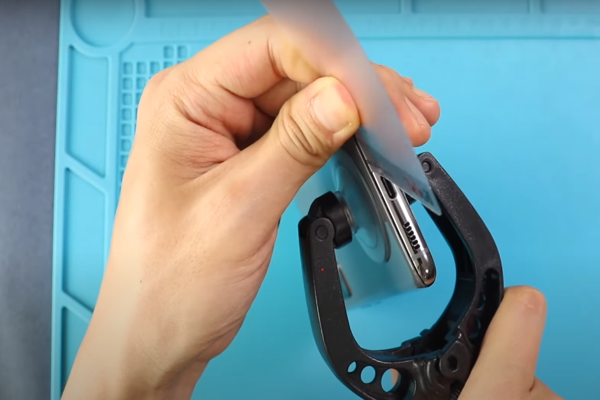
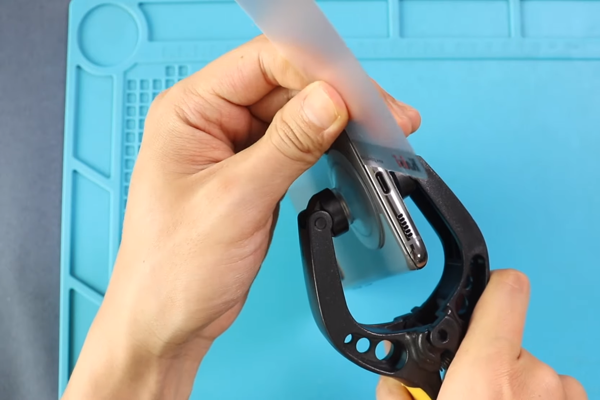
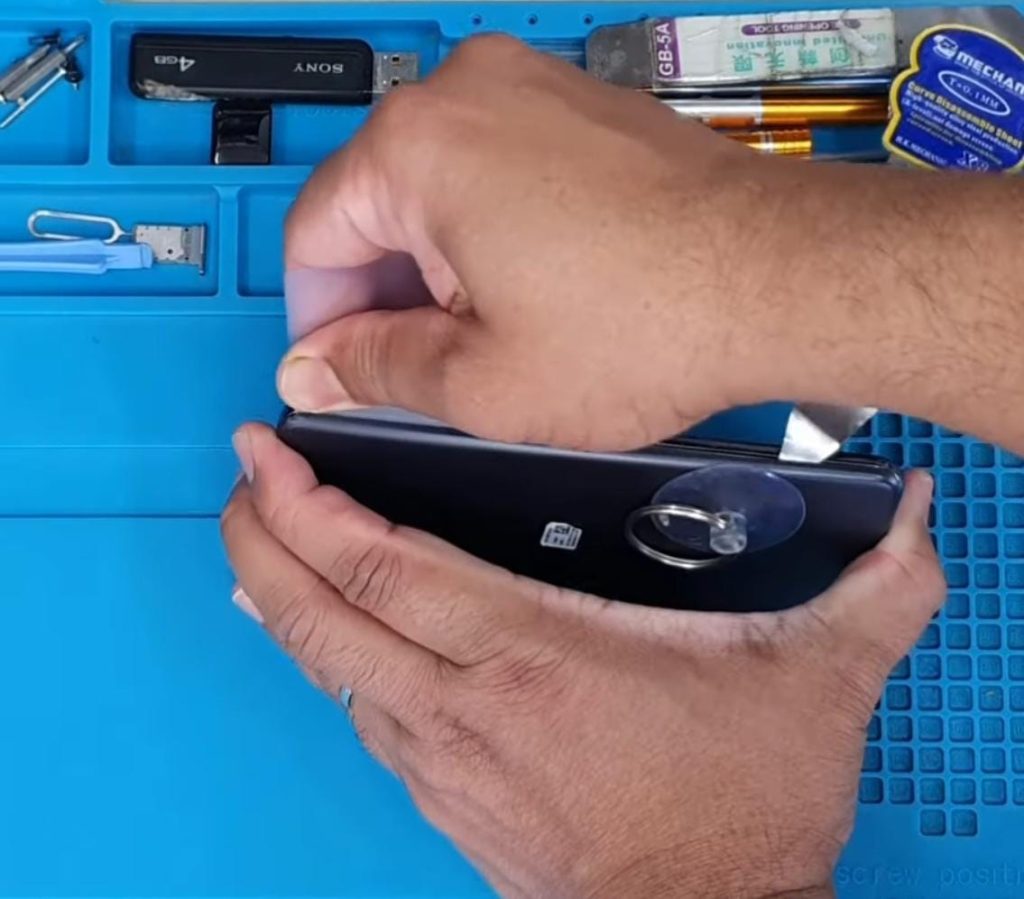
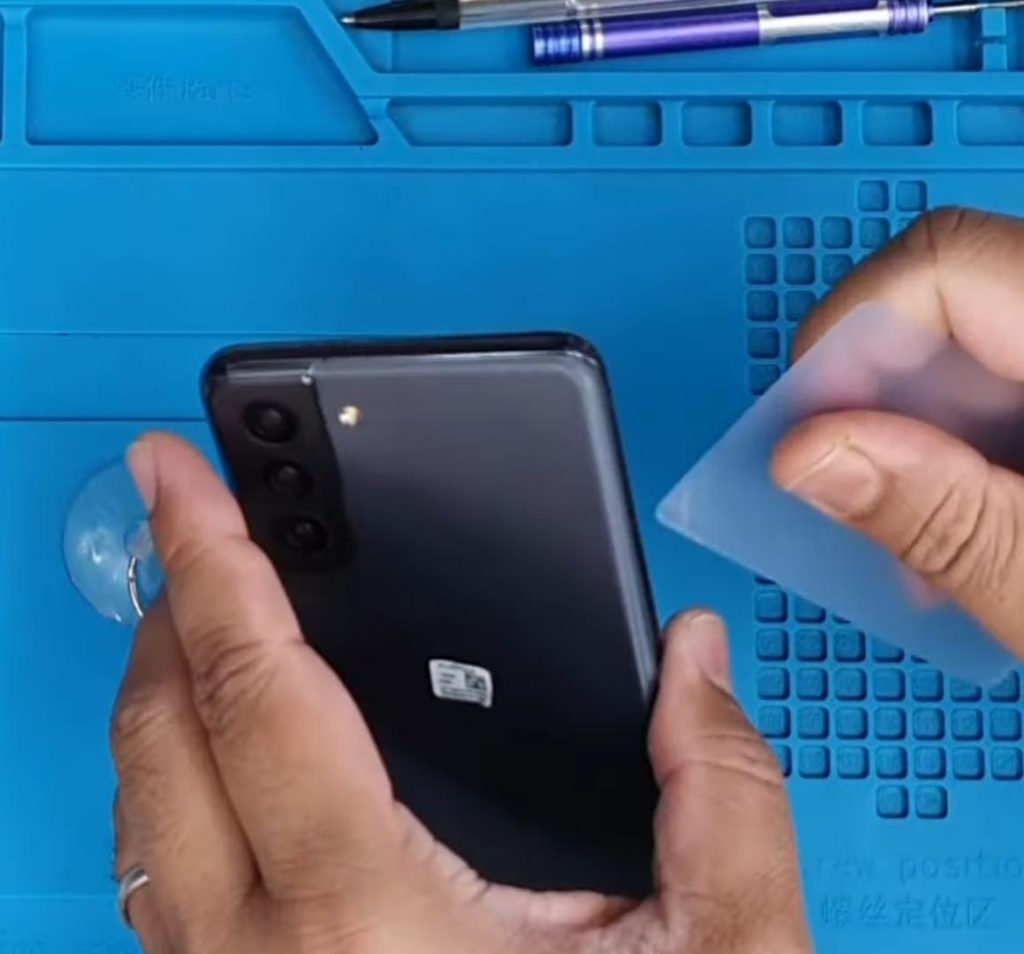
- Fix a suction cup on the lower side of your device.
- Gently pull the suction cup to create a small space or gap between the back cover and the frame of the phone.
- Once a gap is created, insert a small plastic pick approximately 5 mm into the gap.
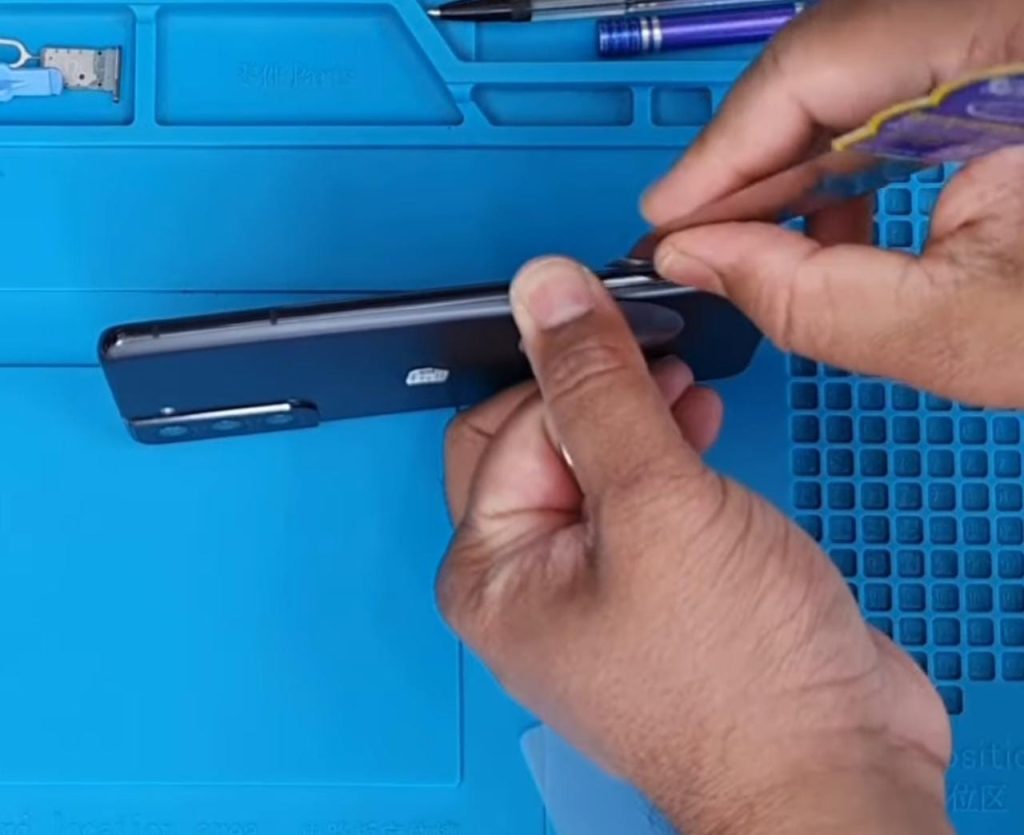
- Slide the plastic pick from one lower corner to the other along the edge.
- This motion helps cut through the adhesives holding the back cover.
- Be careful while slicing the adhesive to avoid damaging the components inside the device.
- This step allows you to loosen the adhesive and prepare for the removal of the back cover.
Step 5 – Cut the Left Side Adhesives
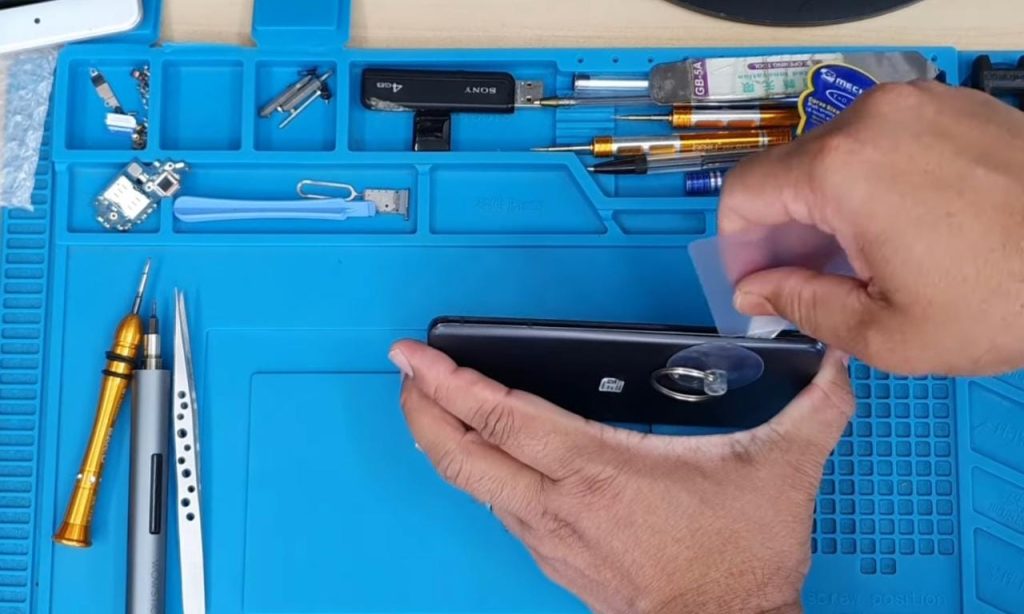
- Begin at the bottom left corner.
- Carefully insert a thin pick between the back frame and the phone’s body.
- Slide the pick from the bottom left corner to the top left corner, applying light pressure.
- Take caution not to push too hard near the top left corner where the rear cameras are located.
- Repeat this sliding motion back and forth 3 to 4 times to ensure all the adhesive on the left side is cut.
- Cutting the adhesives on the left side prepares the device to remove the back cover.
Step 6 – Remove the Upper Edge Adhesives
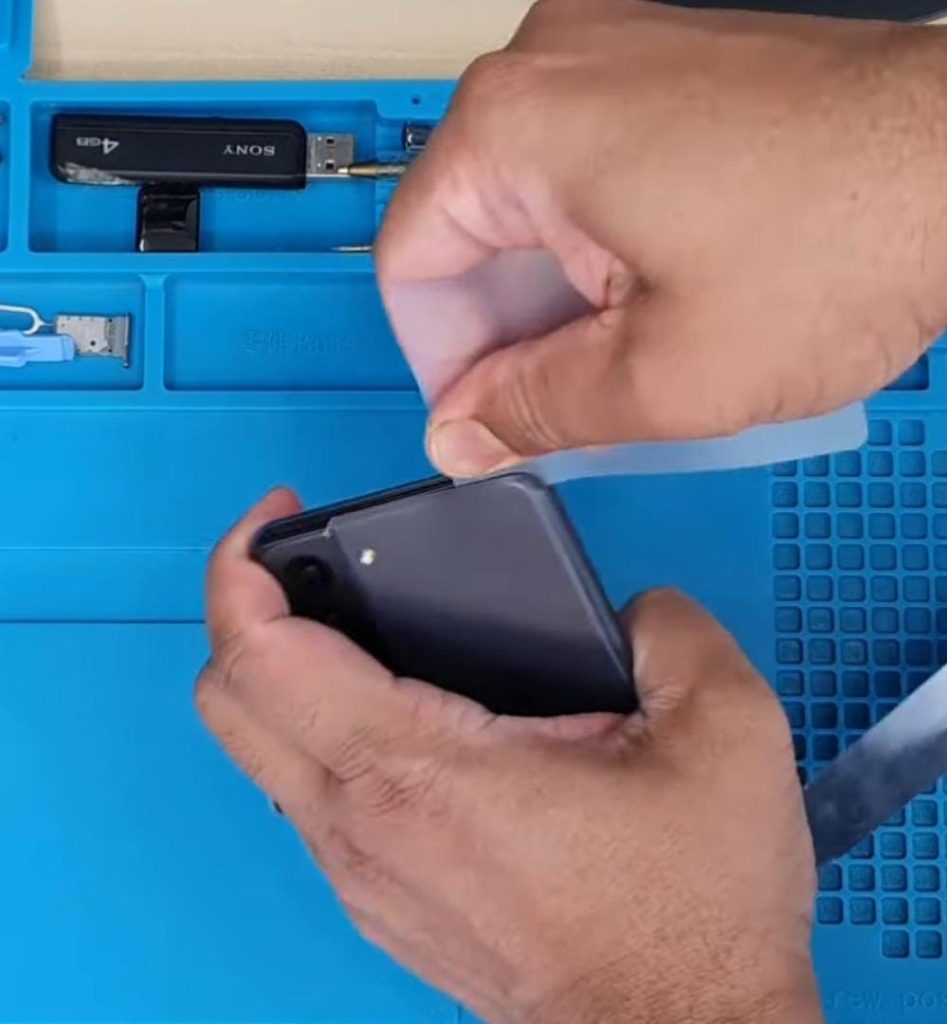
- Continue from the top left corner and move the pick towards the top right corner.
- Apply steady and gentle pressure while sliding the pick along the upper edge.
- Repeat this sliding motion with the pick three times to cut through the adhesive glues effectively.
- Ensure that the pick effectively cuts through all the adhesives on the upper edge.
- Removing the upper edge adhesives allows further separation of the back cover from the phone’s frame.
Step 7 – Slice Adhesives On The Right Side
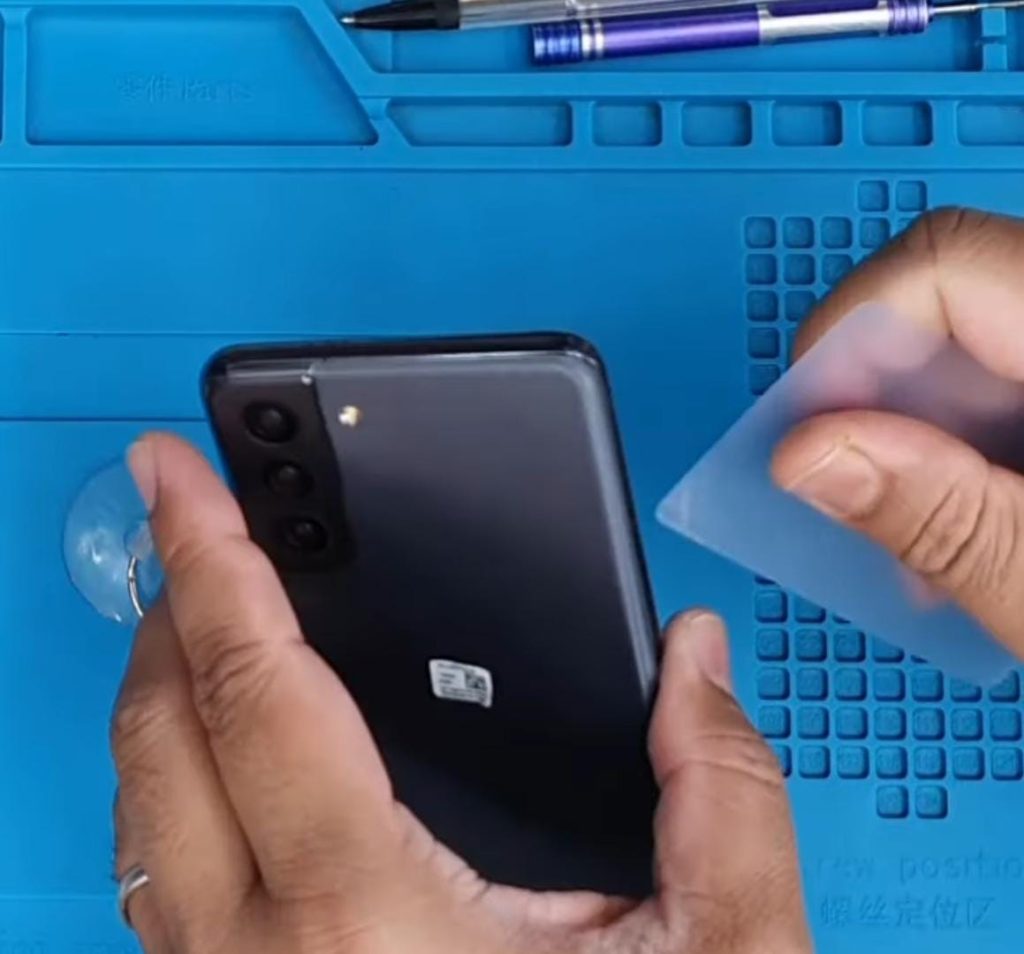
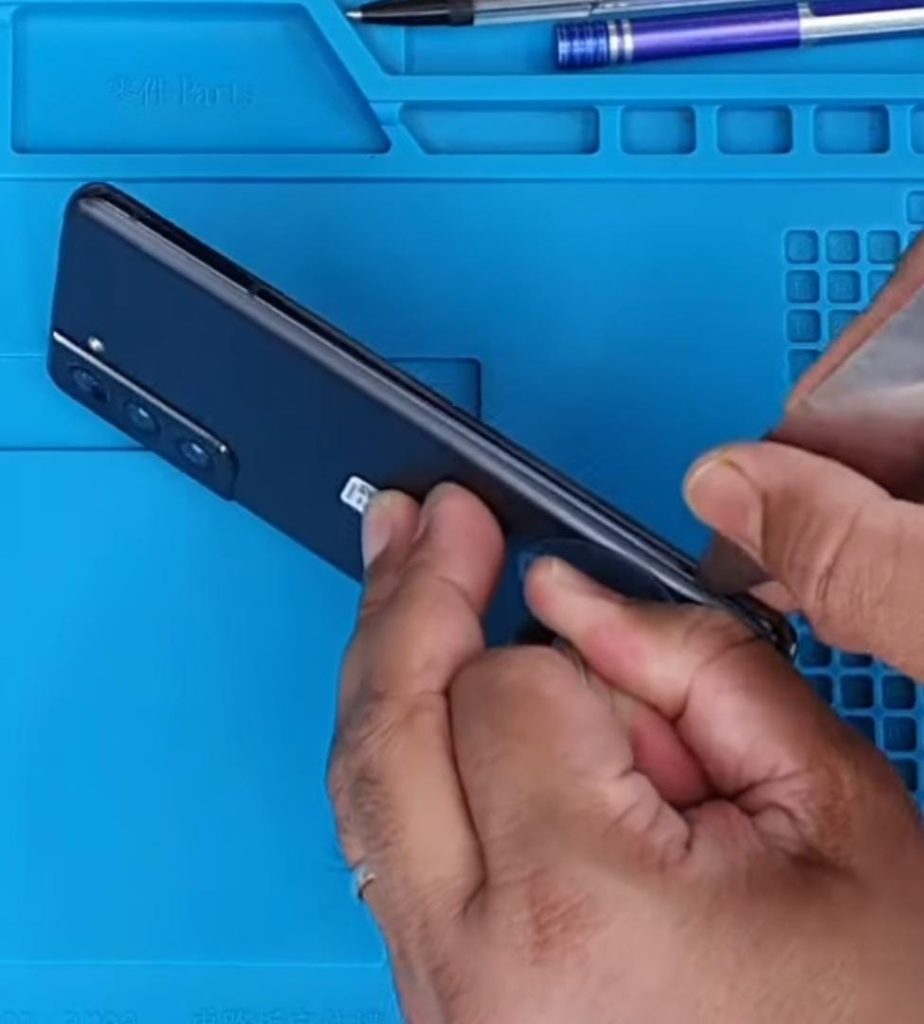
- Shift your attention to the top right corner.
- Apply controlled and gentle force as you move the pick from the top right corner to the bottom right corner.
- Repeat the slicing motion along the phone’s right side, ensuring the pick effectively cuts through the adhesives.
- The adhesives along all four edges of the device are strong, so you may need to reapply heat if the adhesives are not easily cut.
- Do not rush or apply excessive force to avoid damaging the phone’s components.
- Slicing the adhesives on the right side completes separating the back cover from the frame.
Step 8 – Remove The Back Cover
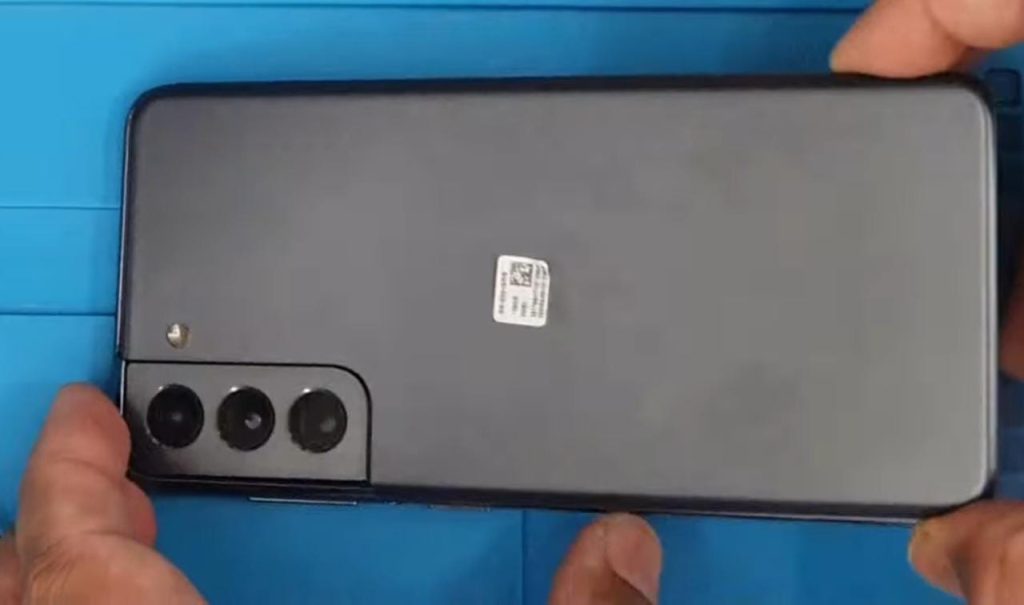
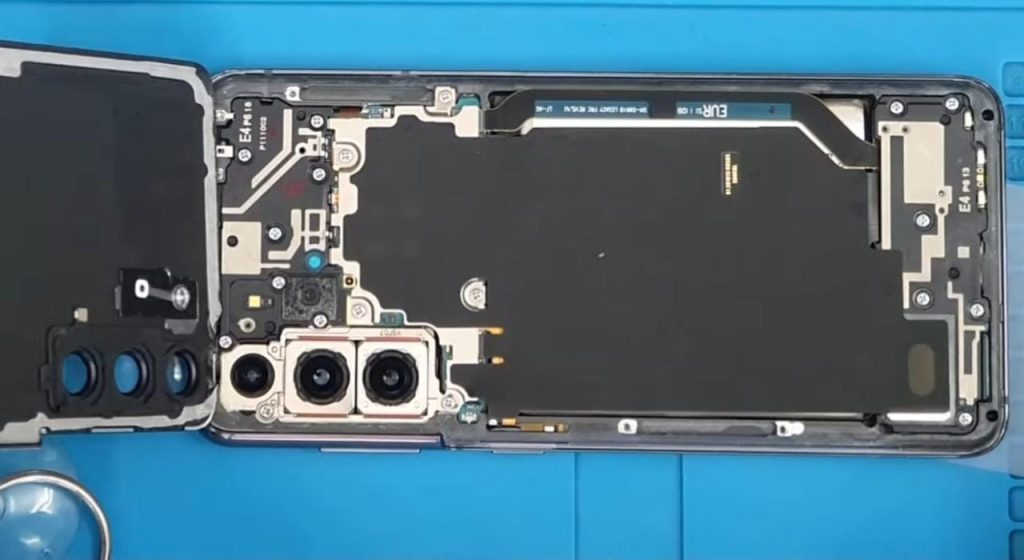
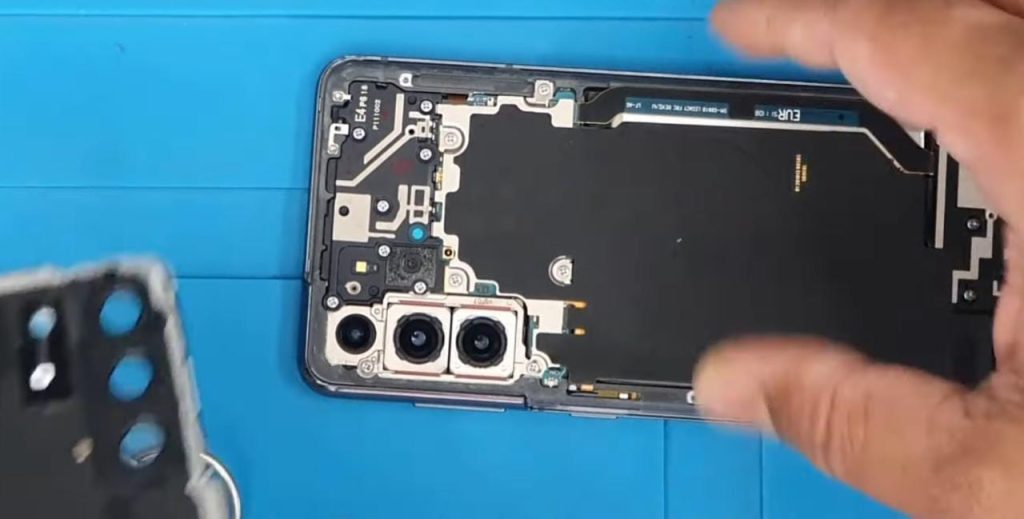
- With your fingers, securely hold the edges of the back cover of your Samsung Galaxy S21.
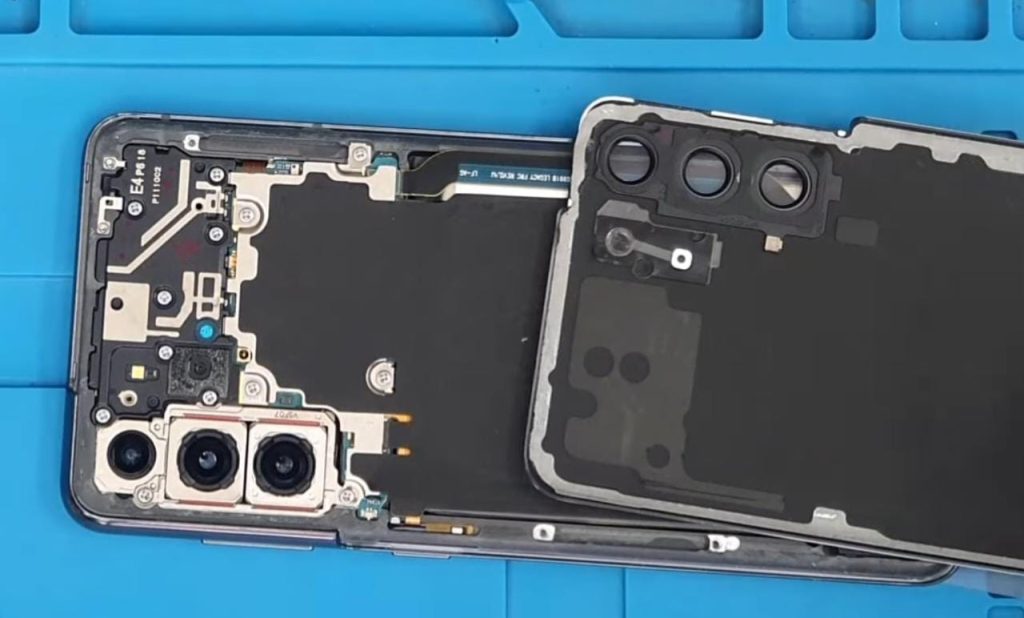
- Carefully lift the back cover upwards, away from the phone’s frame.
- Pulling the back cover outward with your fingers, you will notice it gradually detaching from the frame.
- Continue lifting and pulling until the back cover is fully separated from the phone.
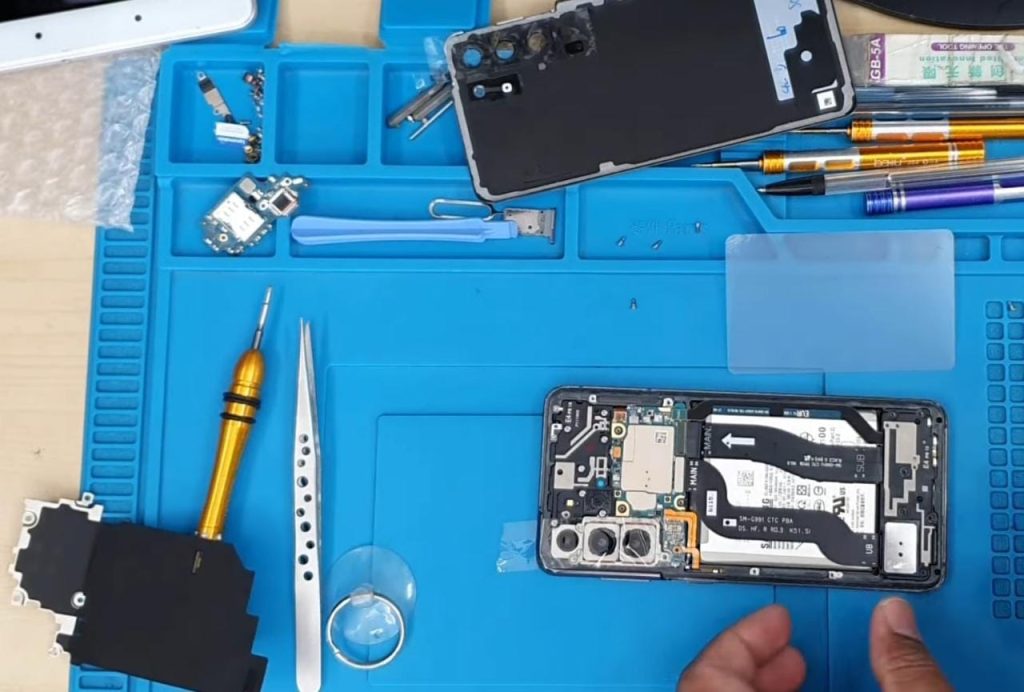
- Once you have successfully removed the back cover, carefully set it aside in a safe and secure place.
- Do not force or bend the back cover during removal to avoid damage.
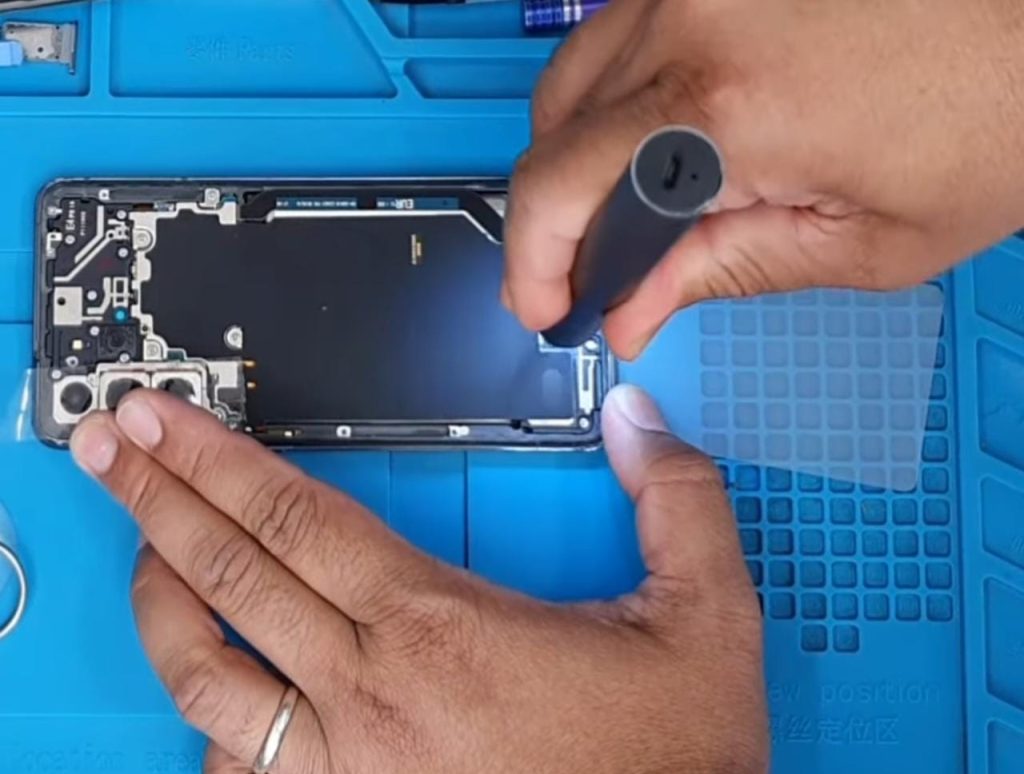
Step 9 – Unfasten The Motherboard Bracket
- Obtain a Phillips screwdriver that matches the size of the screws on the Samsung Galaxy S21 motherboard bracket.
- Gently loosen and remove the screws that secure the motherboard bracket in place.
- Several screws, usually around five, need to be unfastened.
- Take caution while removing each screw to avoid misplacing them.
- Make sure to keep the screws in a secure location where they won’t be misplaced, as you will need them for reassembly later on.
- Removing the motherboard bracket allows access to the components underneath for further replacement or repair.
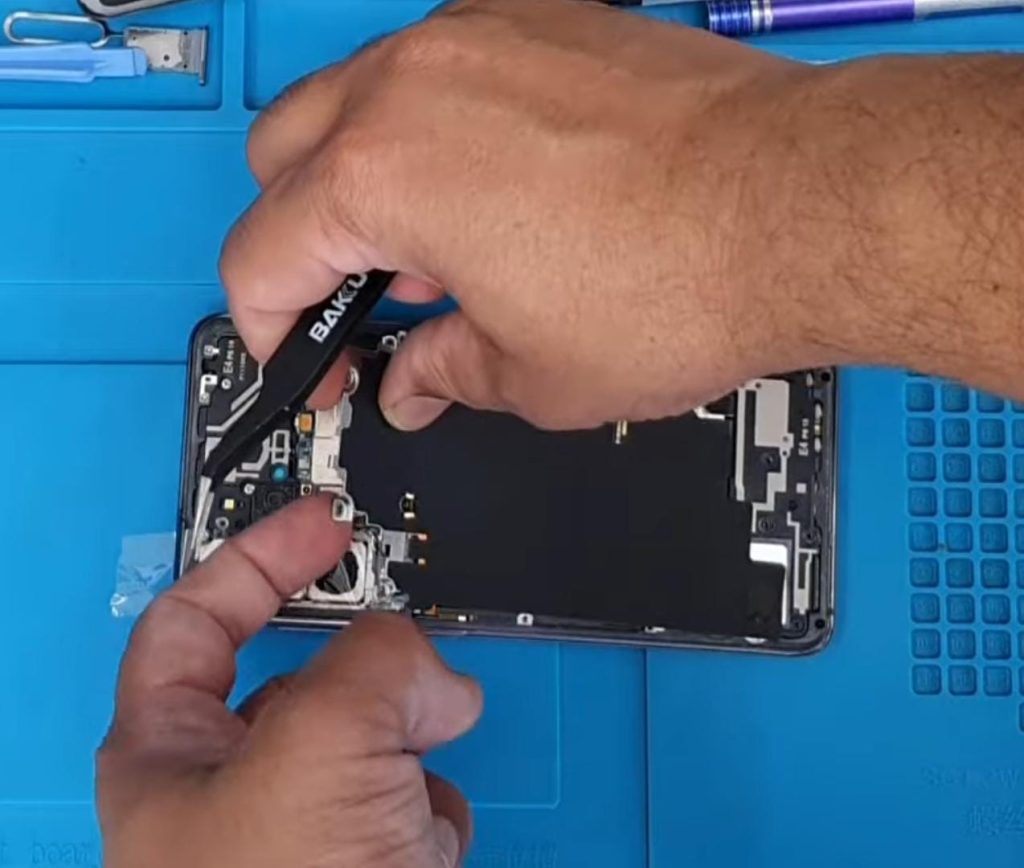
Step 10 – Locate the Wireless Charging Coil
- To locate the wireless charging coil on your smartphone, observe the center or bottom area of the device.
- Look for a small component with a rectangular shape and connectors on both sides.
- This component is the wireless charging coil, which enables wireless charging functionality.
- Identifying the charging coil is essential for the replacement process, as it ensures the correct component is replaced to restore wireless charging capabilities in your device.
Step 11 – Disconnect the Wireless Charging Coil
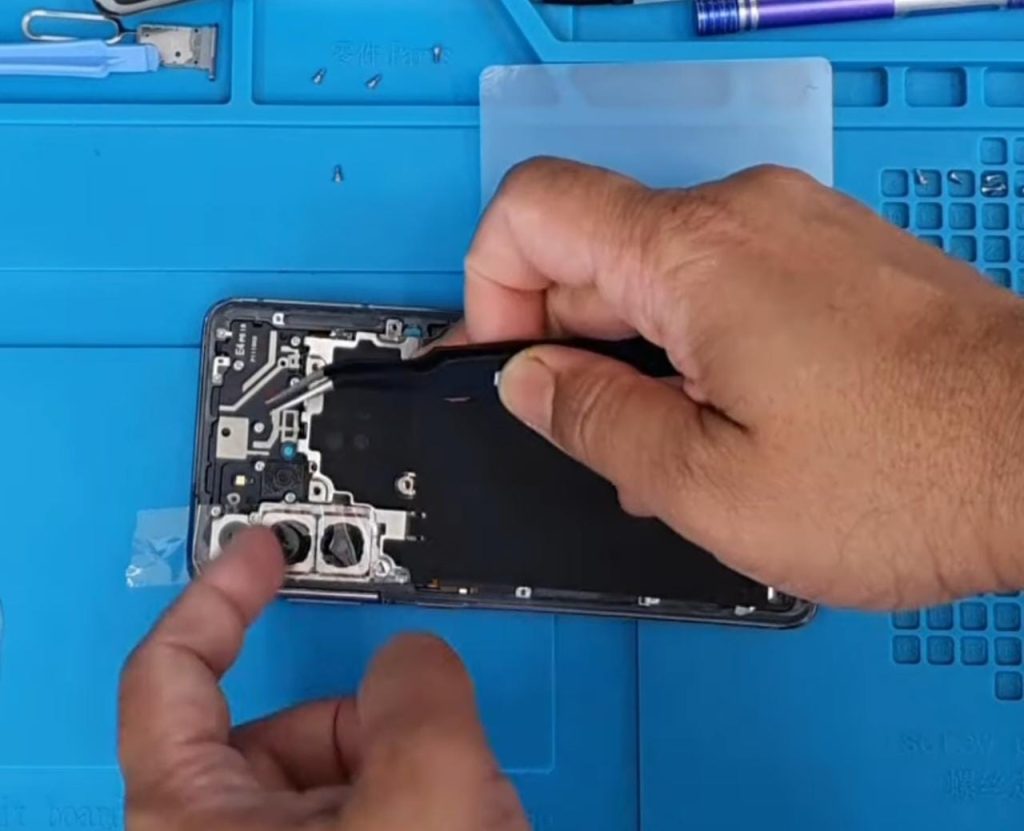
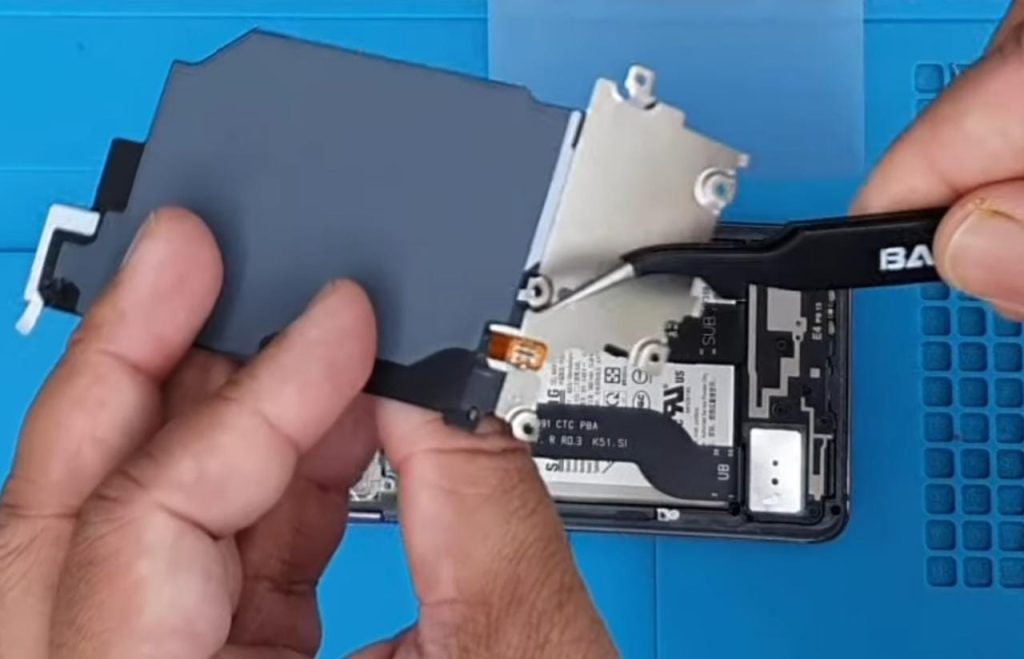
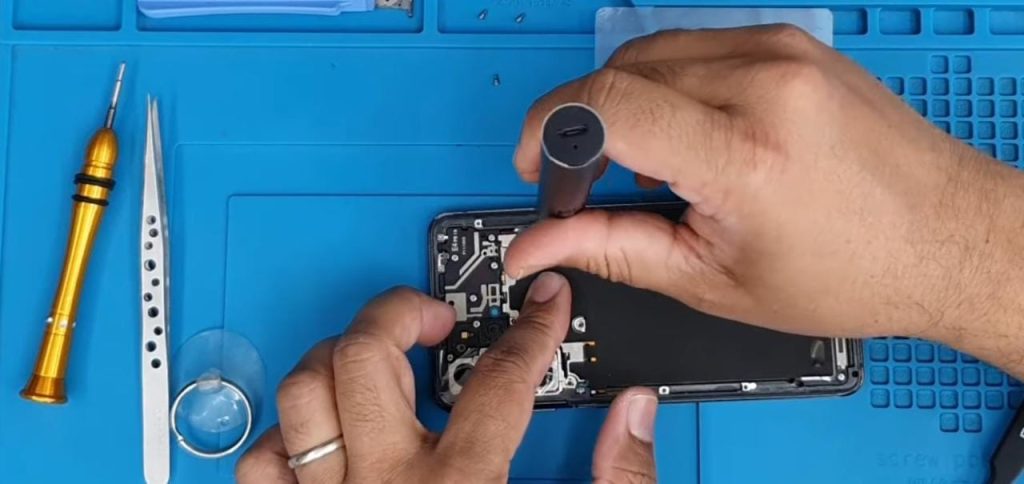
- Take a plastic spudger or a tool with a similar design to disconnect the connector attached to the wireless charging coil.
- Apply gentle force to release the connector, ensuring you handle it with care to avoid causing damage to the delicate components.
- The connector is usually attached firmly, so use steady and controlled pressure to detach it without excessive force.
- Disconnecting the connector allows for removing the wireless charging coil during the replacement process.
- Take your time during the disconnection process and exercise caution to ensure a smooth and safe disconnection without any accidents or mishaps.
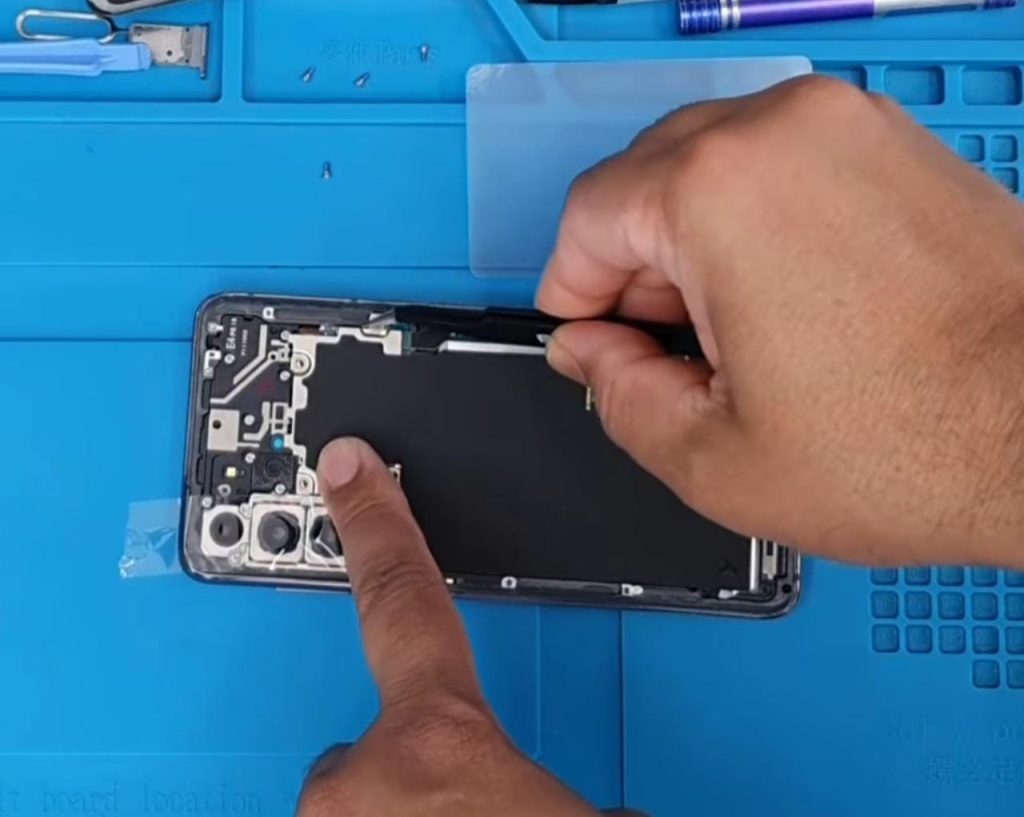
Step 12 – Remove the Old Wireless Charging Coil
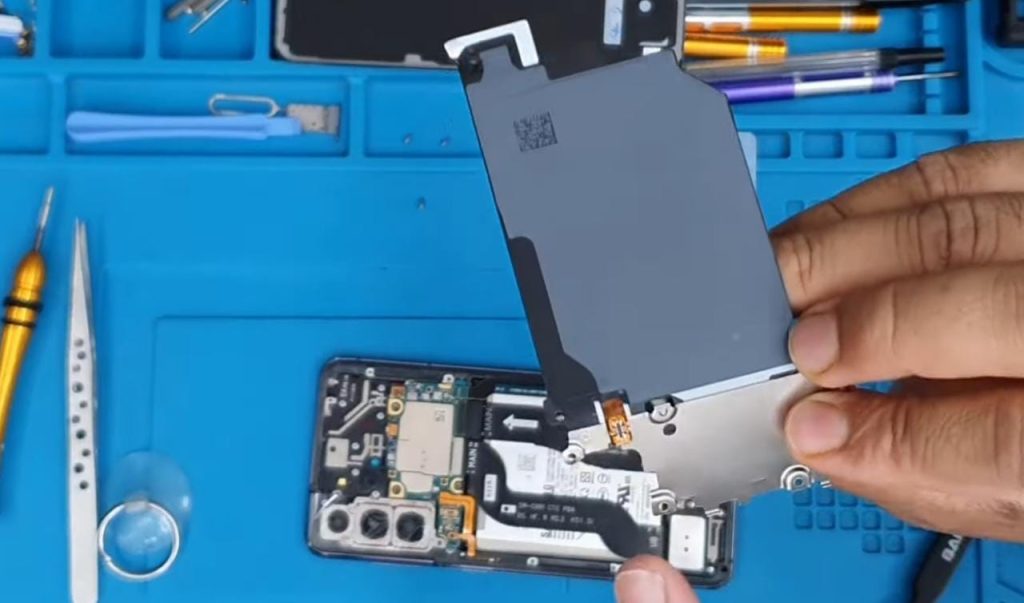
- Once the connector is detached, gently lift the old wireless charging coil from its position.
- Handle the wireless charging coil carefully to avoid bending or damaging the connectors or any surrounding components.
- Lift the coil gradually and evenly, ensuring you apply gentle and consistent pressure to detach it smoothly.
- Take note of the orientation and position of the old wireless charging coil for reference during the installation of the new one.
- Ensuring the proper removal of the old wireless charging coil sets the stage for a smooth installation of the replacement coil, minimizing any potential complications during the process.
Step 13 – Install the New Wireless Charging Coil
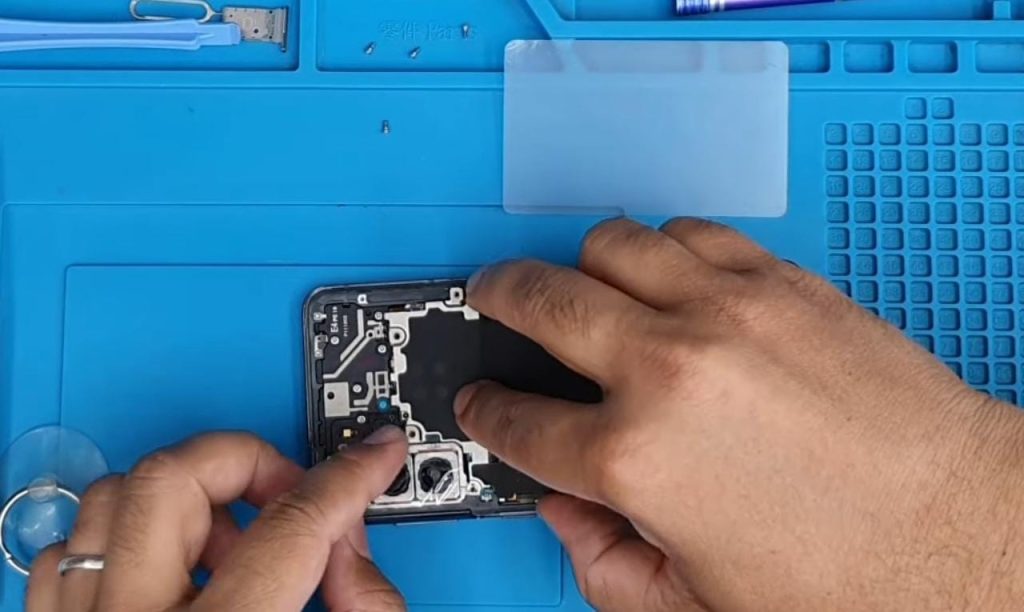
- Take the new wireless charging coil that you have acquired for the phone.
- Carefully align the replacement coil with the designated position on the device.
- Ensure that the connectors on the coil are properly aligned with the corresponding slots on the device.
- Take time to accurately position the new coil to ensure a proper and secure connection.
- Aligning the connectors correctly is crucial for the wireless charging functionality to work effectively.
- Double-check the alignment before proceeding to the next step to ensure a successful replacement process.
Step 14 – Reconnect the Charging Coil Connector
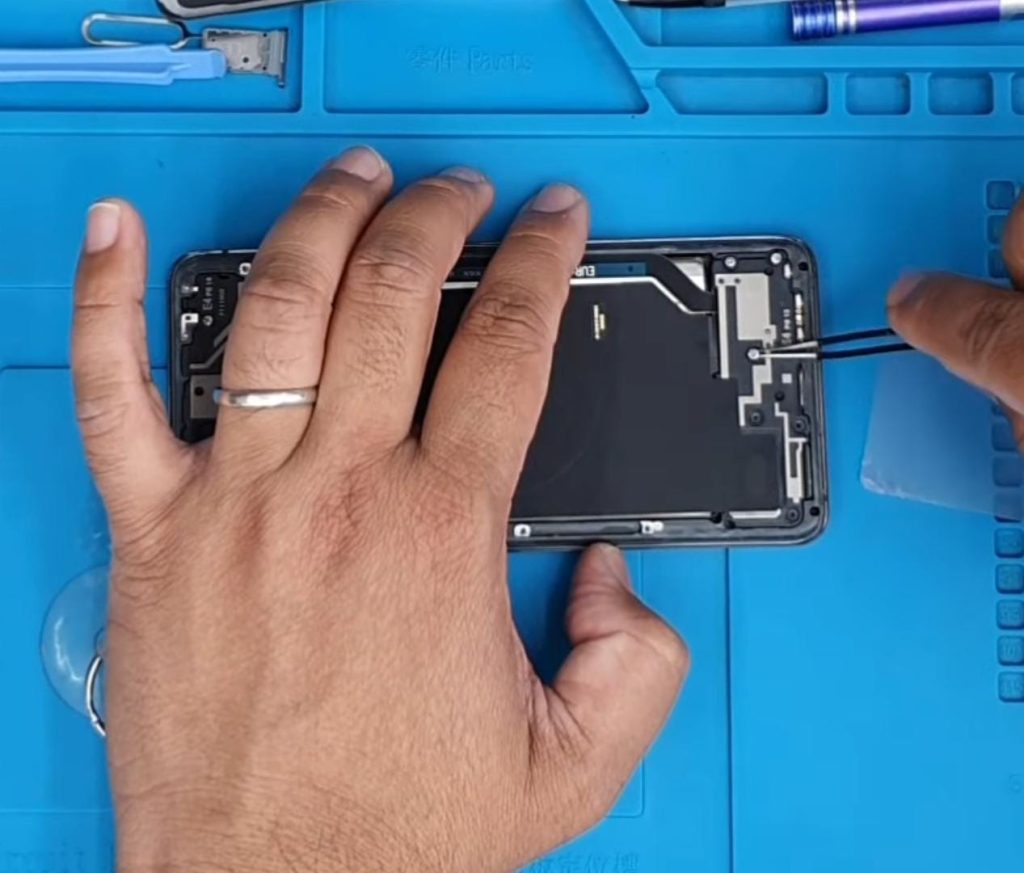
- Apply gentle pressure to reconnect the charging coil connector to the device.
- Make sure to align the connector properly with the corresponding slot on the device.
- Use careful and steady force to establish a secure connection between the charging coil and the device.
- Ensure that the connector is fully inserted and securely attached to guarantee proper functionality.
- Take your time to make sure a proper and secure connection is established.
- A secure connection to the charging coil connector is essential for the wireless charging functionality to work effectively.
- Double-check the connection to ensure it is secure before proceeding to the next step.
Step 15 – Test the Wireless Charging Functionality
- Before proceeding with the reassembly of your device, it is crucial to test the wireless charging functionality.
- Connect your Samsung Galaxy S21 to a compatible wireless charger.
- Ensure that the device is placed correctly on the charger, aligning it with the charging coil.
- Allow sufficient time for the device to connect with the charger and initiate charging.
- Monitor the charging process and verify that the device charges without any issues.
- If you have successfully tested the wireless charging and confirmed that your device charges properly.
- If you experience any difficulties with the wireless charging function, it is advisable to revisit the previous steps and ensure that the charging coil has been installed correctly. Taking the time to verify the proper alignment and connection of all components can help resolve any issues.
- Troubleshoot any potential problems and ensure that the connectors are securely connected.
- Repeating the installation process correctly ensures the wireless charging functionality is restored successfully.
Step 16 – Reassemble Your Device
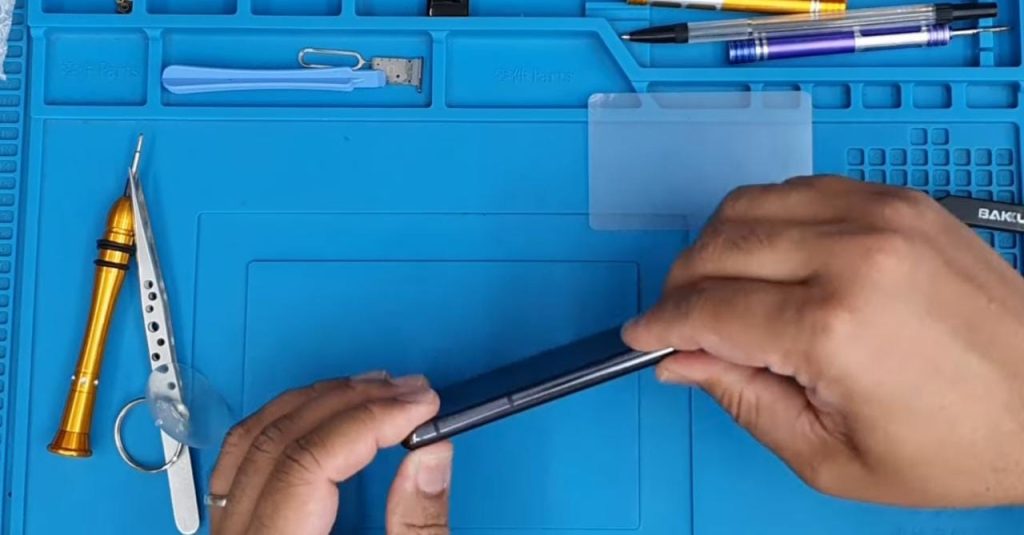
- Once you have confirmed that the wireless charging functionality is working correctly, you can proceed with reassembling it.
- Begin by carefully aligning the back cover with the frame of the device.
- Press the back cover against the device’s frame, ensuring that all edges fit snugly into place.
- Do not apply excessive force or pressure while reassembling to avoid damaging components.
- Once the back cover is in place, proceed to fasten any screws that hold it in position, if applicable.
- Ensure all screws are tightened appropriately but not overly tightened to avoid damage.
- If any additional components or accessories were removed during the disassembly process, reattach them accordingly.
Finally, power your Samsung Galaxy S21 and verify that all functions, including the wireless charging, are working correctly.
Congratulations! You have successfully replaced the wireless charging coil and reassembled your device.

