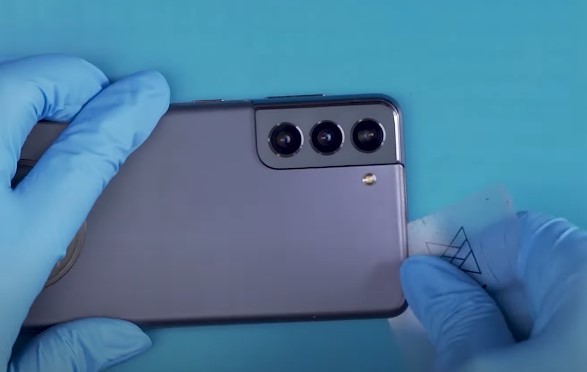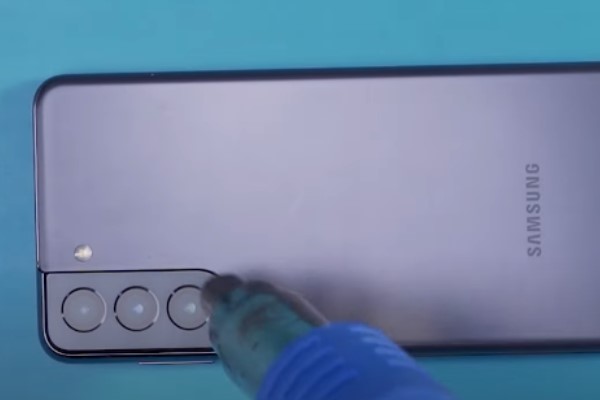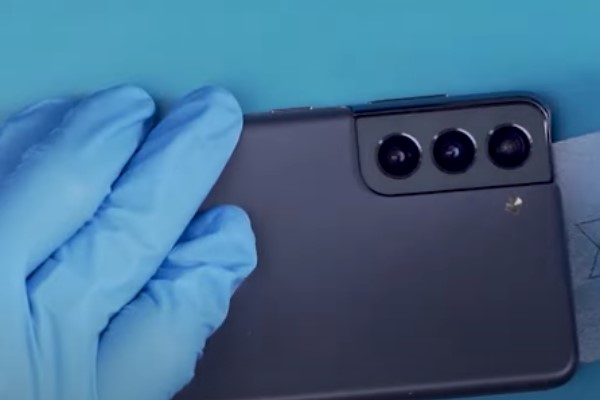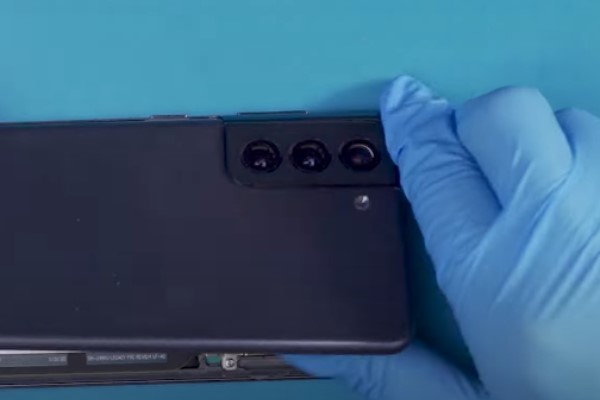

In this article I will show you an easy step-by-step method to replace the Samsung s21 screen. If the screen of your Samsung s21 is broken, and you are looking for a screen replacement guide, then this article is for you. Read and follow all the steps carefully to replace the Samsung s21 broken screen.
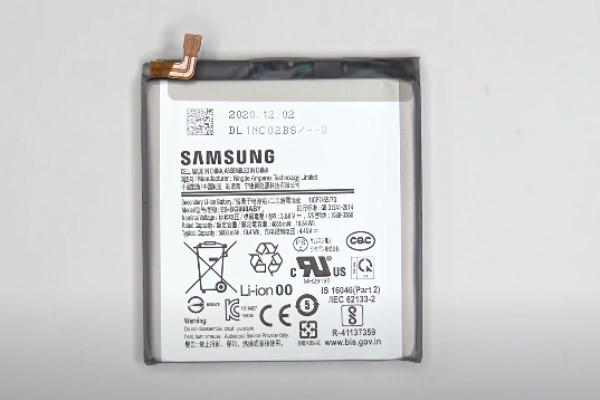
Remove the battery from the device before starting the Samsung screen replacement process. It will help to avoid any thermal incident in case of accidental battery damage.
Step 1: Gather the necessary tools:
First of all It is necessary to collect all useful tools and materials in one place that will help you in the screen replacement process. These tools are required in this process:
- A SIM ejecting tool
- A heat gun or hairdryer
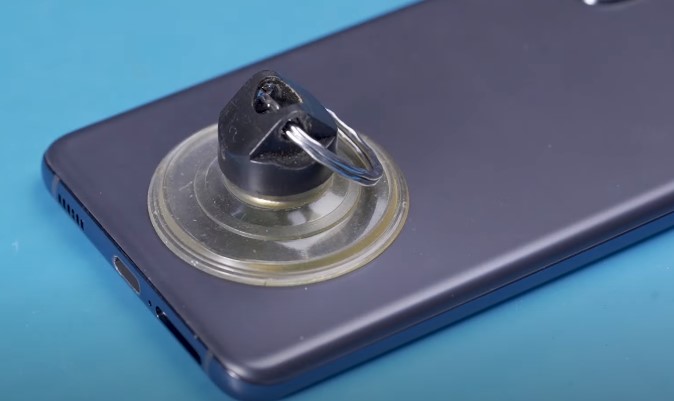
- A suction cup
- A spudger or plastic pry tool
- A screwdriver
- Opening picks
- Plastic card
- Adhesive strips or Adhesive glue
- A dry and clean workspace
Step 2: Remove the SIM card from the device:
Remove the SIM card from your device before you start replacing the screen.
- Take the SIM card ejecting tool.
- Insert it in the hole near the SIM card tray.
- When you gently press the SIM ejecting pin, the SIM card tray will come out.
- Remove the SIM tray from the device.
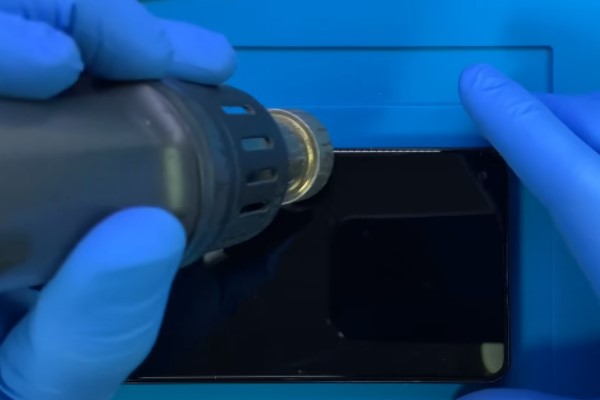
Step 3: Heat the bottom side of the device:
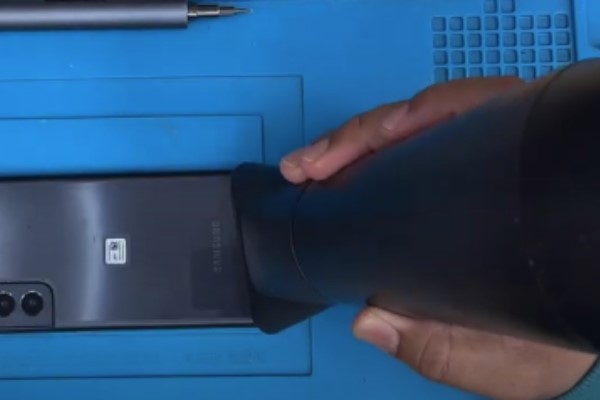
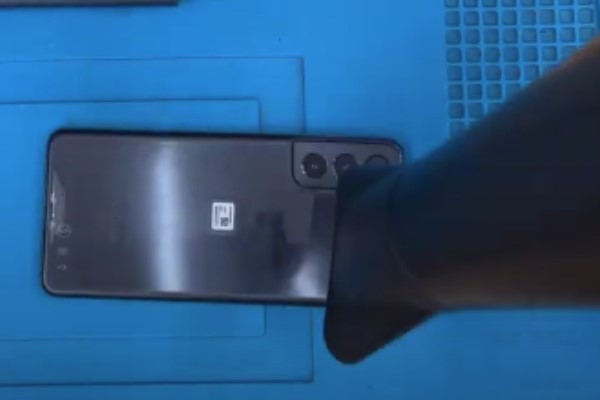
- Now turn off your smartphone. Heat the bottom of the device for at least 3 minutes with the help of a heat gun, or you can even use a hair dryer.
- One thing you should keep in mind is that do not overheat your smartphone. Overheating may cause damage to sensitive parts like the plastic cover and display of your phone.
Step 4: Use a suction cup:
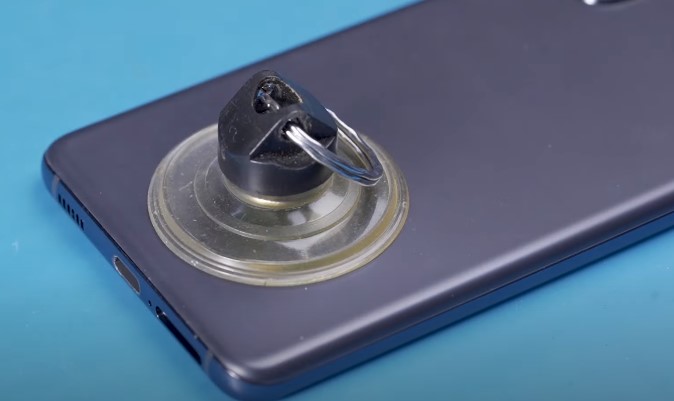
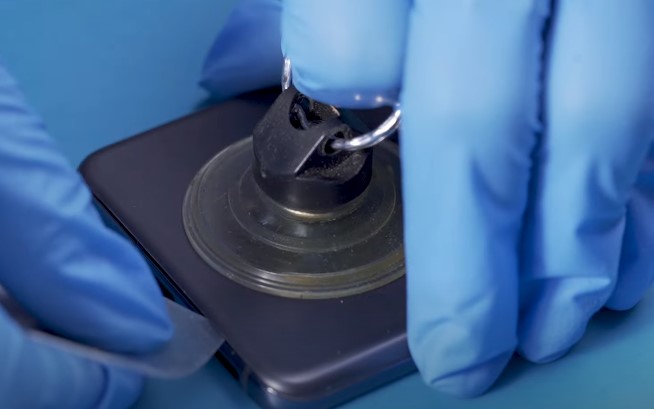
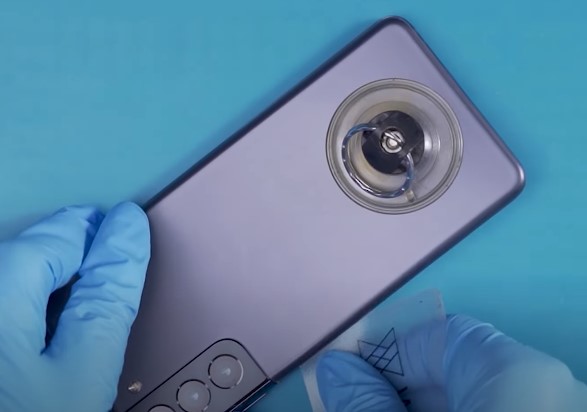
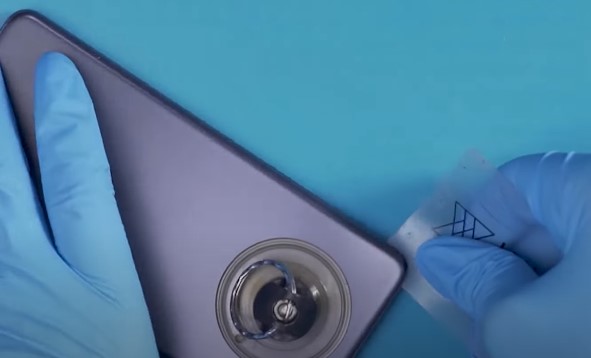
- Place the suction pump in the center of the lower edge and gently pull it.
- You may notice a small gap between the back cover and the frame of the Samsung s21.
- If the gap does not appear, then heat the lower side of the device a little bit more and repeat this step.
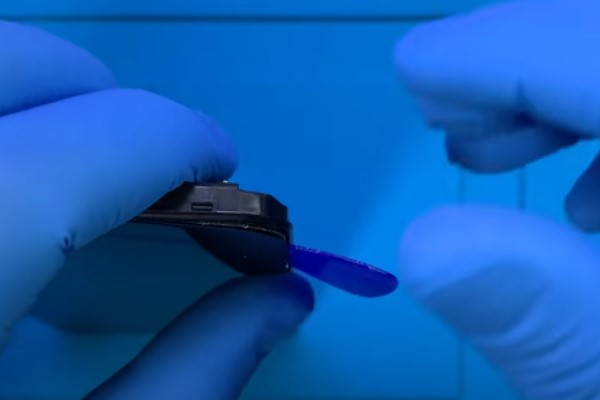
- Place a pick of 4 mm to 5 mm in the gap.
Step 5: Separate the lower cover :
- Move the pick slowly from one corner to the other.
- This will slice the adhesive at the lower side of the smartphone.
- The lower back cover separates from the bottom side.
Step 6: Heat the left side of the device:
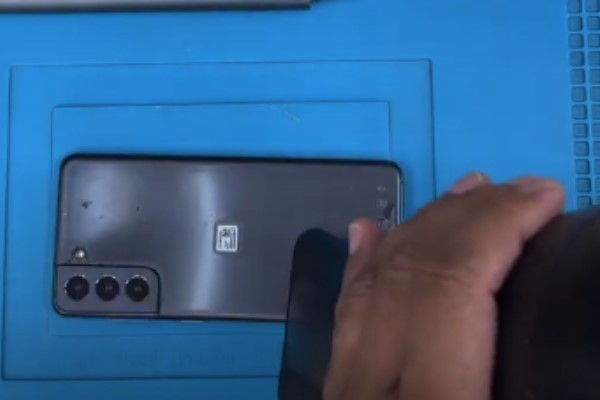
- Heat the left side of the device with a heat gun or hair dryer for 2 to 3 minutes.
- Do not overheat the device.
Step 7: Place a suction pump on the left:
- Place the suction pump on the left side and carefully apply force to pull the suction pump.
- In this way, a gap forms between the left side of the back cover and the body of the device.
- Slide a pick in the gap to avoid sealing the gap.
Step 8: Remove the left side adhesive:
- To remove the adhesive from the left side of the device, move the pick from the top left corner to the bottom left corner.
- In this way the left side of the back cover separates from the device.
Step 9: Heat the right side:
- Heat the right side of the device for 2 to 3 minutes.
- Use a suction pump to pull the right side of the rear cover.
- Place a pick in the gap.
Step 10: Cut the adhesive on the right side:
- Move the pick from the top right corner to the bottom right corner very attentively.
- It will cut the adhesive on the right side and the back cover separates from the right side.
Step 11: Remove adhesive at the upper side:
- Move the pick you have placed on the right side to the upper right corner.
- You can cut adhesive at all corners in this way, except the left corner.
- The back camera is present in the left corner. So, we have to remove the adhesive from the top left corner very carefully.
Step 12: Carefully heat the camera shell:
- Heat the camera shell on the left top side for 2 minutes.
- Do not overheat it, as overheating can damage the camera.
Step 13: Remove adhesive from the camera shell:
- Turn the rear cover in an anticlockwise direction to make a space between the camera shell and frame.
Step 14: Slide additional adhesive:
- If you examine the right side, you will notice the presence of additional adhesive. You have to slide this adhesive also.
- Use the pick very cautiously because the pick may stick in the plate present around the flash of the Samsung s21.
Step 15: Finally remove the rear cover:
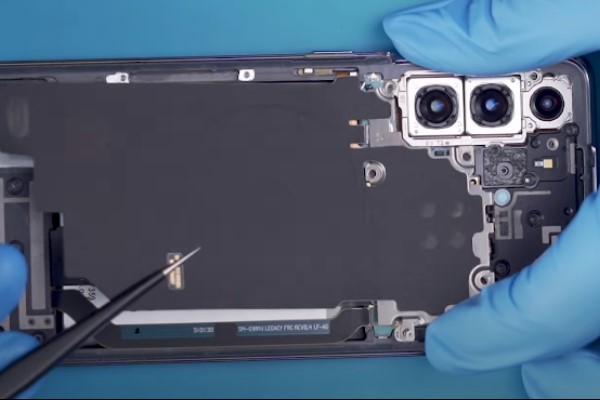
- Now remove the back cover of the smartphone and place it aside.
- If you face any difficulty in removing the back cover, then use picks.
- Move the picks all around the device to separate the back cover.
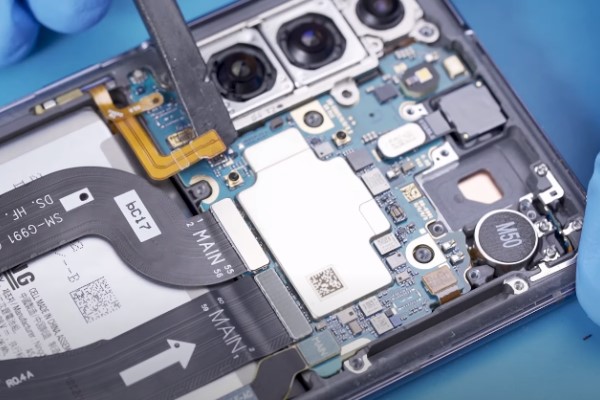
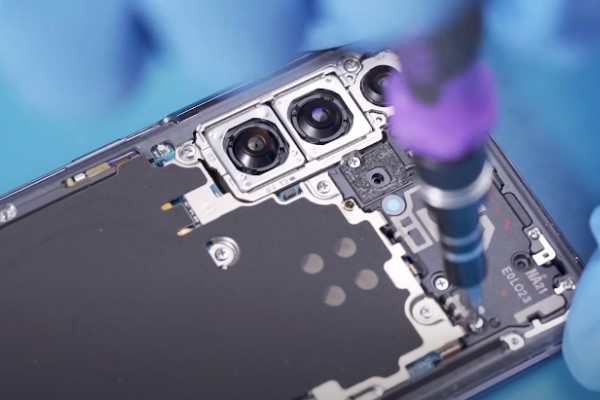
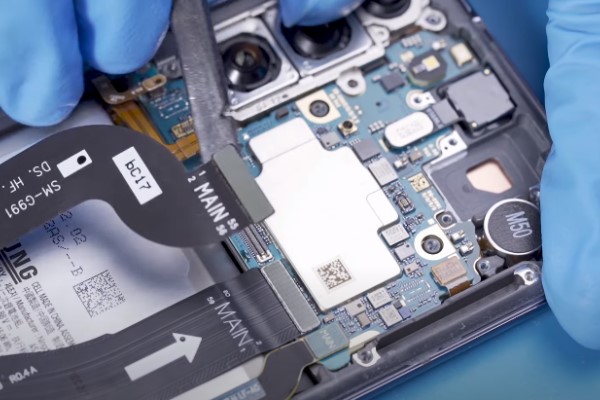
Step 16: Remove the motherboard’s screws:
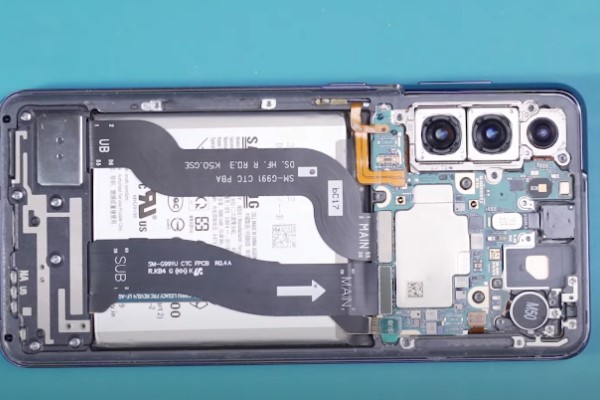
- There are five 4 mm screws with which the motherboard is fixed.
- Take a Phillips screwdriver to remove these five screws.
- Keep these screws in a proper place. So, you can use them at the time of reassembling the device.
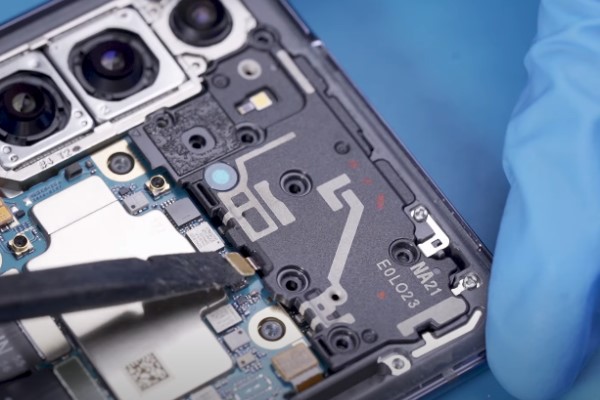
Step 17: Remove the motherboard’s clips:
- Take a pair of tweezers.
- Carefully pull the motherboard circuit in the upward direction to unclip it.
- Do not detach the motherboard circuit completely because you have to detach the wireless charging coil from it first.
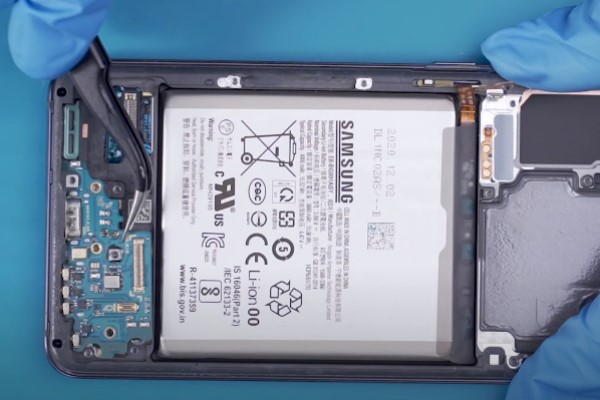
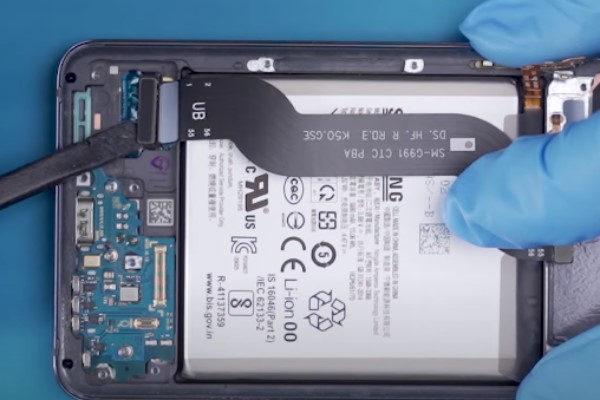
Step 18: Separate the battery:
- Hold the motherboard bracket with the help of tweezers or fingers.
- With the help of a spudger pry up the battery connector to disconnect the battery.
- Carefully use the spudger as one wrong move can damage the socket.
- While reassembling the device, you have to connect the battery again. So you have to press the battery connector gently till it adjusts to its position. Do not apply too much force on it, as it may damage the pins.
Step 19: Cut off the wireless charging coil:
- Hold the motherboard bracket up with the help of fingers or tweezers.
- A spudger is needed to disconnect the charging coil from the motherboard.
Step 20: Take off the wireless charging coil:
- Gently pull up the wireless charging coil from the phone and put it aside.
- While pulling up the coil, keep in mind the coil is attached to the phone with a little amount of adhesive. So do not quickly pull it off.
- While reassembling the phone, you have to attach the wireless charging coil to the motherboard. But you have to tighten the motherboard circuit screws before attaching it to the motherboard.
Step 21: Detach the loudspeaker:
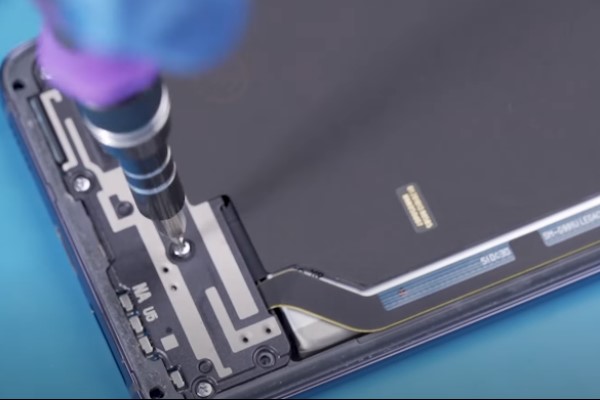
- There are six screws of 4 mm which have attached the loudspeaker to the fame of the phone.
- Unscrew these screws with the help of a Phillips screwdriver.
Step 22: Remove the loudspeaker:
- Enter the tip of a spudger into the notch in the top-left corner of the speaker to loosen the clips and pry up the loudspeaker.
- Separate the loudspeaker and keep it safe.
Step 23: Detach the display cable:
- Disconnect the bottom press connector of the display cable with the help of a spudger.
Step 24: Take off the display cable:
- Disconnect the top press connector of the display cable with the help of a spudger.
- Now detach the display cable from the frame of the phone with the help of fingers or pairs of tweezers.
Step 25: Heat the display adhesive:
- Heat the display screen for at least 5 minutes with the help of a hair dryer. Heat gun or hot plate.
- You should keep in mind that display adhesive is present :
- All around the frame of the display screen.
- Around the front camera.
- Around the fingerprint sensor.
- The display screen adhesive of the Samsung Galaxy s21 is very powerful. You may have to heat it a few times to completely remove the display screen.
Step 26: Use a pick to separate the display screen:
- Place a suction pump on the screen when the display screen adhesive melts and becomes soft with heat.
- If there are so many cracks on your screen, then attach packing tape on the screen before pulling it.
- Pull the screen with a suction pump handle to create a gap between the phone frame and the screen.
- Insert a pick in the gap that will stop the adhesive glue to stick the screen again to the frame.
- Move the pick to the top left edge of the phone.
Step 27: Cut the adhesive from all sides:
- Now enter another pick at the top left edge and slowly start moving it up and down.
- This movement of the pick cuts the soft adhesive from the left side.
- Leave these two picks in their places.
- Take a third pick and insert it in the top left corner, then start moving it to the top left corner to cut the adhesive. Set the third pick at the upper right edge.
- Enter the fourth pick in the top right corner. Slowly move the pick towards the lower right edge to slice the adhesive glue. Set the fourth pick at the lower right edge.
- Take another pick and insert it in the lower right edge. Move it from right to left to cut the adhesives.
Step 28: Use a plastic card:
- There is adhesive glue under the display screen of the Samsung Galaxy s21 in the middle.
- We have to cut this adhesive before removing the screen.
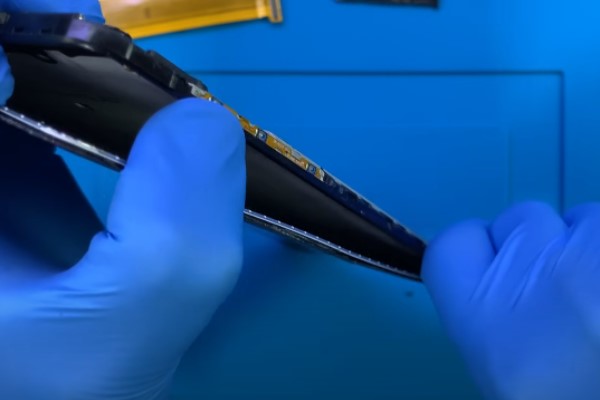
- Gently slide a plastic card in the gap between the screen and the phone frame from any of the longer edges of the phone.
- Use the plastic card to remove the adhesive at the center of the screen.
Step 29: Take off the broken screen:
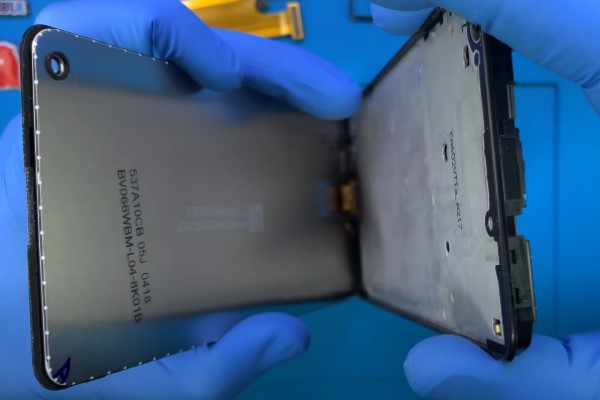
- Now gently remove the broken screen.
- Carefully examine your new and old screens, and shift all components attached to the old screen to the new one.
- Clean the areas of adhesive with isopropyl alcohol.
- Apply new adhesives all around the places from which we remove the adhesives.
- Replace the broken screen with the new screen.
Step 30: Reassemble the device:
To reassemble the device, follow all the above steps in a reverse manner.
It is better to turn on your device once before resealing it. It will ensure that your device is working smoothly. A person can achieve anything with proper guidance and strong determination.


