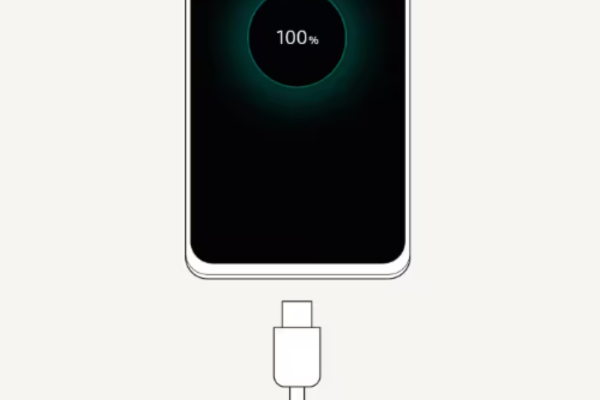
Are you facing slow charging issues on your Samsung Galaxy S24? Follow our ultimate step-by-step guide to solve slow charging problems on your Galaxy S24.
Here is a comprehensive guide to fixing the slow charging issues on the Samsung Galaxy S24.
How To Fix Slow Charging Issues on S24
It is necessary to detect the reason behind the slow charging issue on S24. Only then, you can fix it. Let’s look at the most common reasons behind the slow charging issues on S24!
- A damaged charging wire
- A defective charger
- Mobile settings
- Background running third-party apps
- Outdated Software
- Charging Port Issues
Now, we will discuss the possible solutions to slow charging issues on your S24.
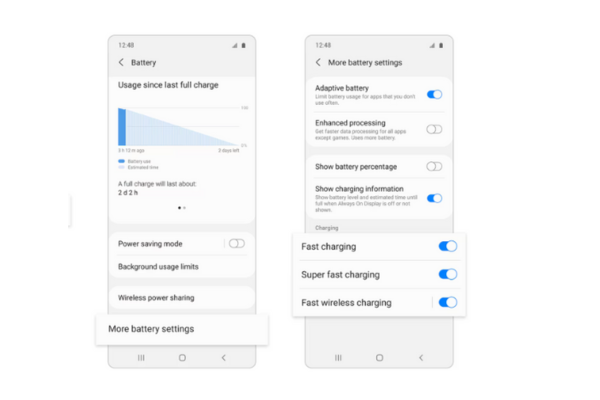
Enable Fast Charging Settings
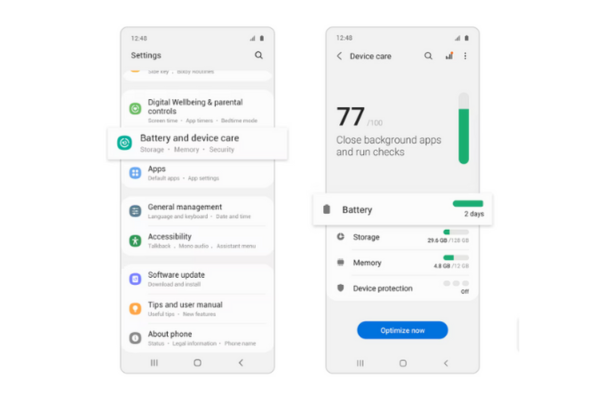
Follow these steps to enable fast charging settings on your S24:
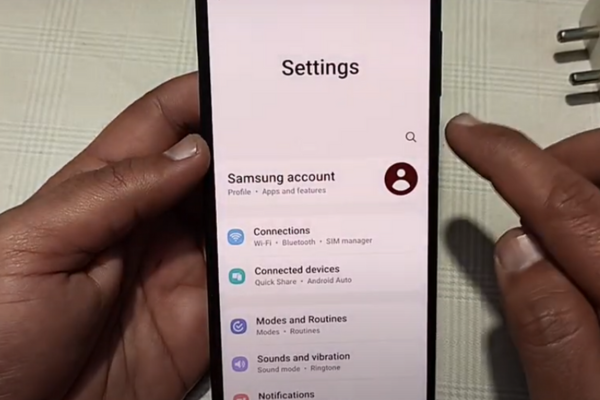
- Go to Settings
- Tap on the Battery and Device care
- Select Battery option
- Tap on More Battery settings
- Now, enable the fast charging, super fast charging, and fast wireless charging settings.
Update The System Software
Outdated system software is also a common cause of slow charging problems. Follow these steps to update your phone’s software:
- Connect your phone to a stable internet connection.
- Go to Settings.
- Search for Software updates.
- Tap on software updates.
- Your phone will start updating.
Use In-box Charger
Some models of Samsung only charge well with their in-box charging adapter. Make sure you are using the genuine charging adapter to charge your S24.
Connect The Adapter Properly
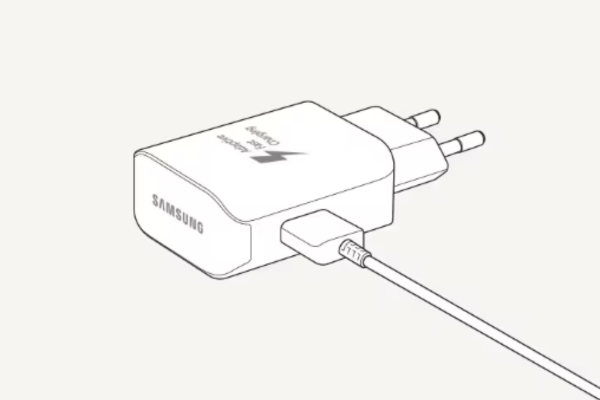
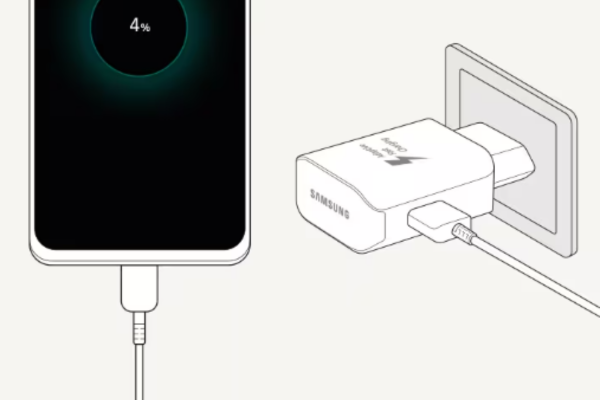
Follow these steps to connect the adapter to your S24 properly:
- Firmly plug the cable into the USB plug
- Connect the charging cable to your S24.
- Make sure your device and charging cable are firmly connected.
- Disconnect the charger when your phone charging completes.
A Fast Charging Wire
Use a fast charging wire that is compatible with your phone adapter. If your charging wire is damaged, use another charging wire.
Manage Third-Party Apps
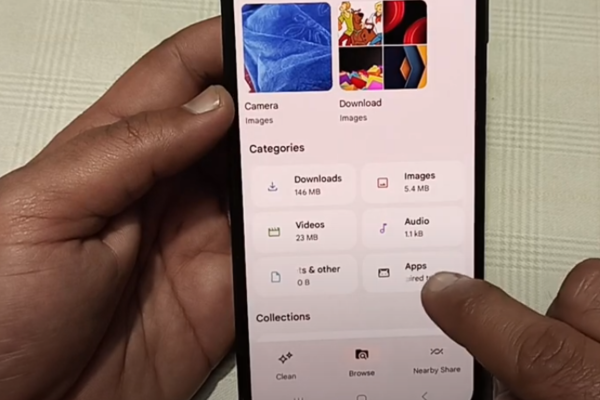
Some third-party apps run in the background and cause slow charging issues on your device. Go to app settings and uninstall these apps. Alternatively, manage all these apps to stop running in the background. For this purpose, go to app management settings.
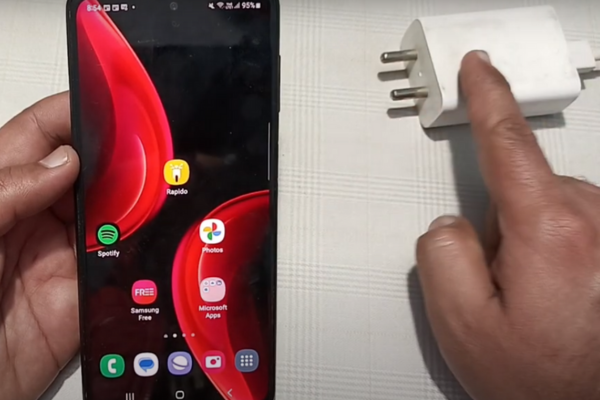
Use A Different Adapter
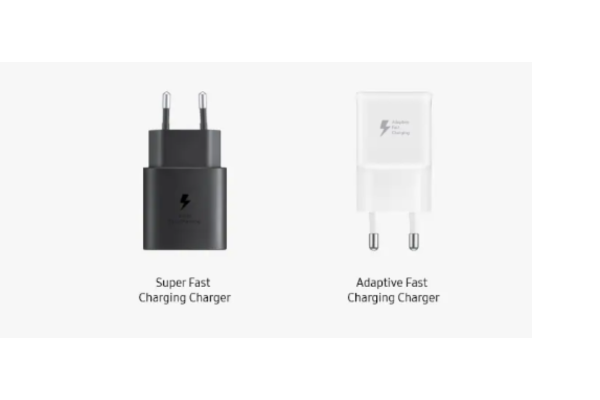
Try charging your S24 with another adapter. Occasionally, the reason behind slow charging is a defective charger. Different types of chargers with variable power outputs are available in the market. But, for optimal performance, it is recommended to use a Samsung-authorized fast charging adapter.
- Adaptive Fast Chargers
These Samsung chargers support 9V-1.67A (15W) power output.
- Super Fast Chargers
These Samsung chargers support 9V-2.77A (25W), 15V-3A (45W), or 20V-2.25A (45W) power outputs.
Clean The Charging Port
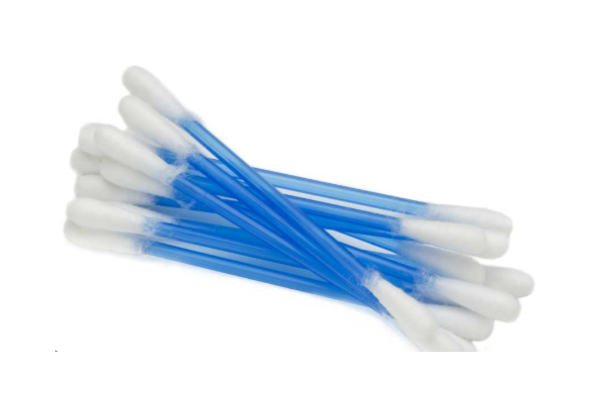
Sometimes, the charging port can get clogged with dust or a small piece of dirt. Due to this reason, the charging wire does not connect properly to the phone. Consequently, the phone charges slowly. Use a lint-free cloth or a cotton bud to clean the charging port of your S24.
Samsung Galaxy S24 USB-C Charging Port And Charging Board Replacement Guide
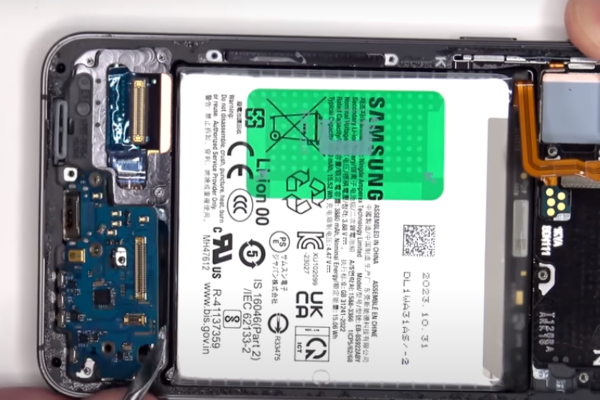
After trying all the above solutions, your Galaxy S24 still charges slowly, so we have to replace its charging port. Follow our step-by-step guide to replacing the defective USB-C Port and Charging Board of your S24 and say goodbye to slow charging issues.
Step 1 Collect The Necessary Tools
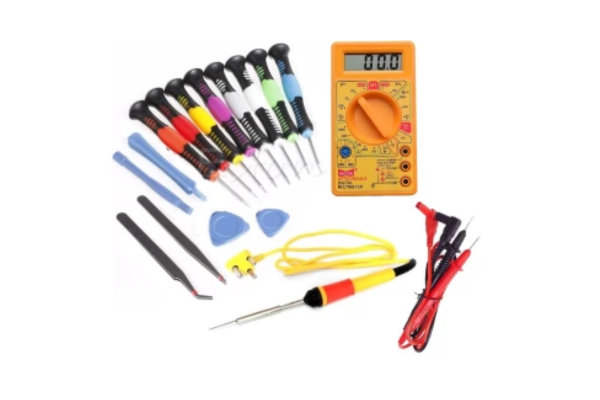
Gather all these necessary tools to replace the USB-C Port and Charging Board of your S24:
- A Hot air gun or hairdryer
- A SIM ejecting Pin
- A suction cup
- An opening pick
- A Spudger
- A set of screwdrivers
- A pair of tweezers
- New adhesive glue
- Isopropyl Alcohol
Step 2 Turn Off Your Galaxy S24
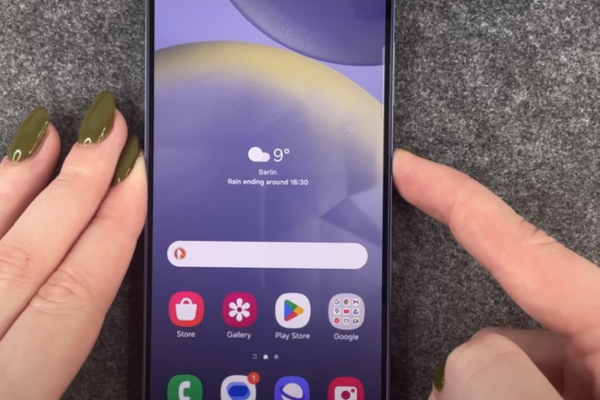
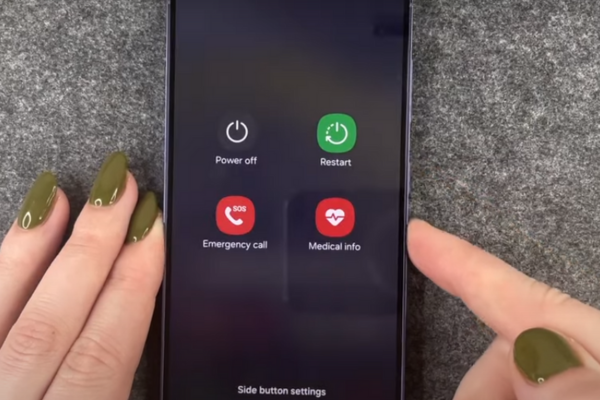
- Press and hold the power button for a few seconds.
- A power-off menu will appear.
- Choose the power off option.
Step 3 Eject The SIM Tray
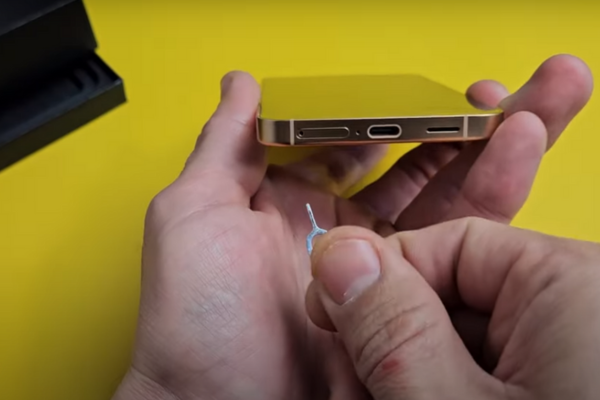
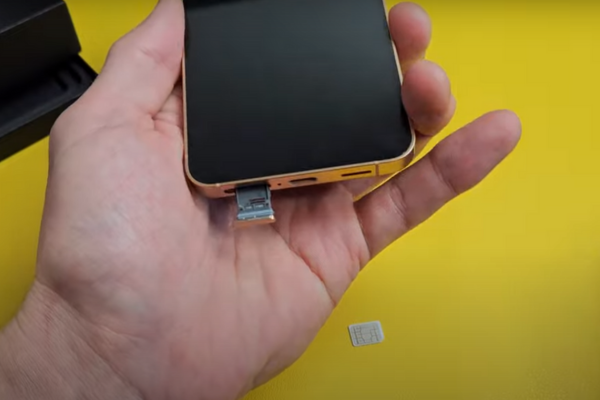
- Locate a tiny hole on the bottom edge of your Galaxy S24.
- Insert a SIM ejecting pin in the hole.
- Firmly press the ejecting tool to eject the SIM card tray.
- The SIM Tray partially comes out.
- Use your fingers to remove the SIM card tray.
Step 4 Heat The Phone
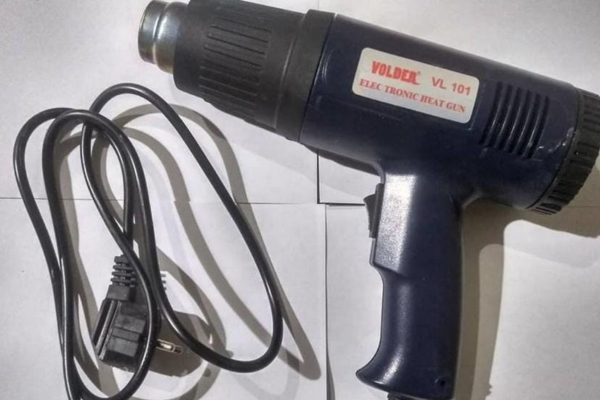
- Take a hot air gun or a hairdryer. Set medium heat setting on your heat gun or hairdryer. You can also use a hot plate for this purpose.
- Heat all the edges of your S24 for 5 to 10 minutes. Heat will soften the adhesive glue present around the edges of your phone.
Important Tip
Do not overheat your phone. Keep the hot air gun or hairdryer at least 5 to 10cm away from the phone.
Step 5 Apply Suction Cup
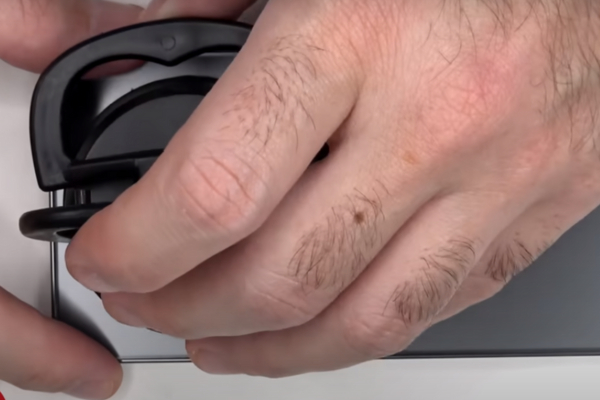
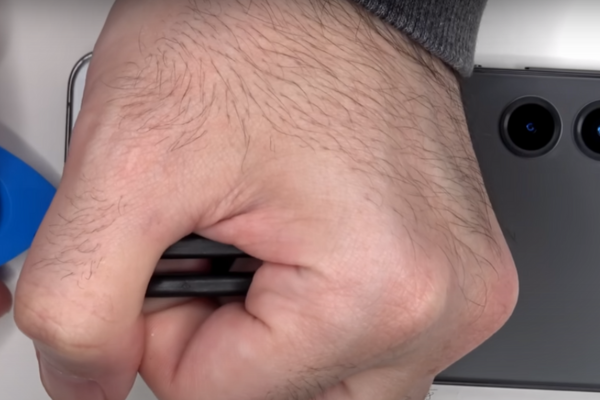
- Attach a suction cup near the bottom edge of your Galaxy S24.
- Pull up the suction cup handle until a gap forms between the back cover and the phone frame.
- Take a plastic opening pick.
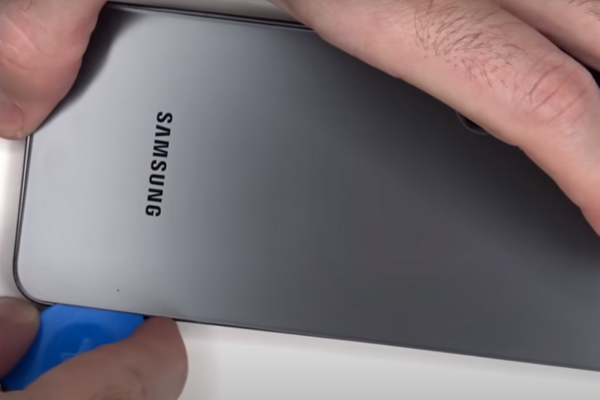
- Insert the pick inside the gap between the back cover of the phone and the phone frame.
Step 6 Cut Off Adhesive
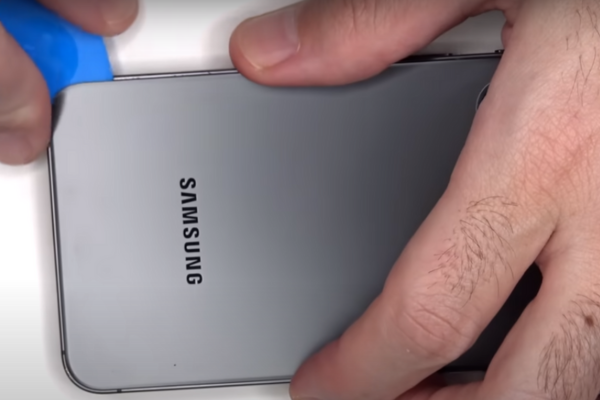
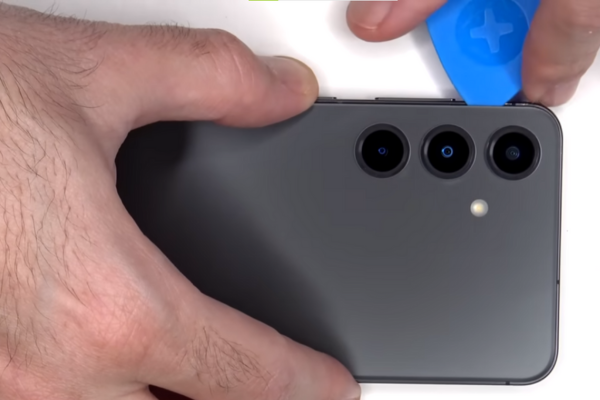
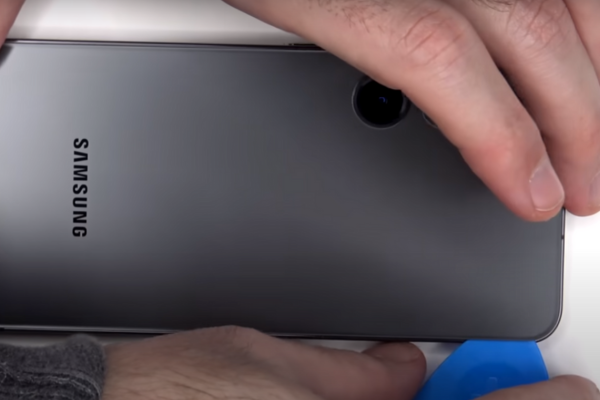
- Move the pick from one edge to the other to slice the adhesive present around all four edges of the phone.
Step 7 Remove The Back Cover
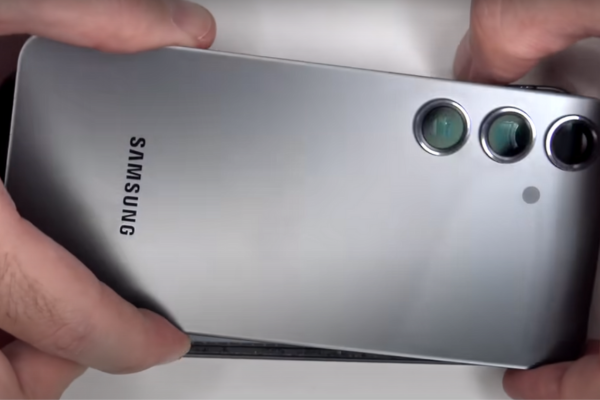
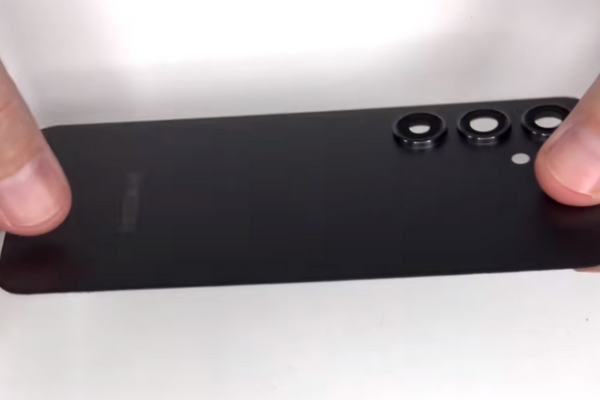
- After slicing adhesive from all four sides of the phone, hold the back cover of your S24 with your fingers.
- Remove the back cover.
- Keep it aside at a safe place, as you may need it during the reassembly of your S24.
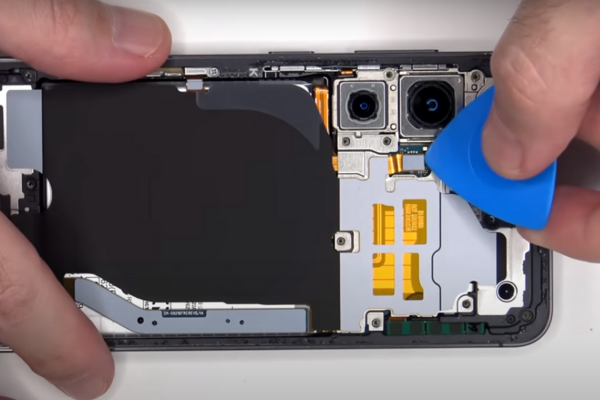
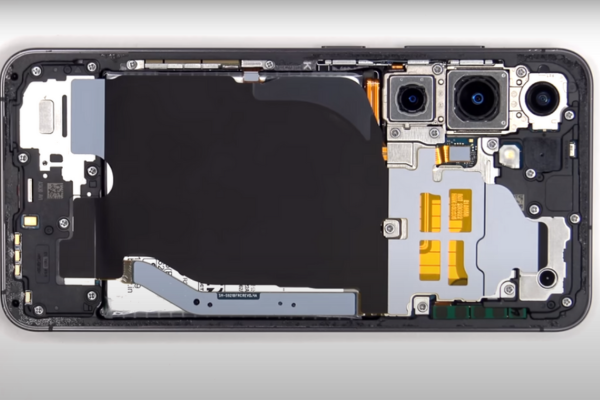
Step 8 Unscrew The Wireless Charging Coil And NFC Antenna Assembly
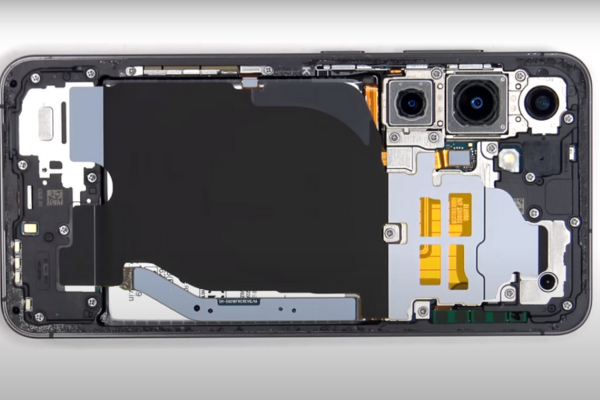
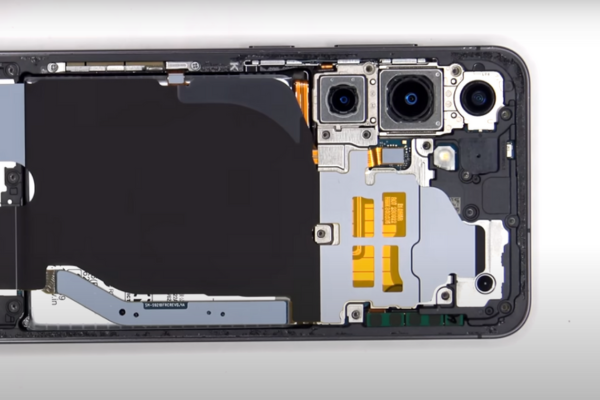
- Use a Screwdriver to unscrew the Screws of NFC Antenna. Keep the screws in a safe place.
Step 9 Disconnect The Wireless Charging Coil
- Disconnect the wireless charging coil from the motherboard with the help of a spudger.
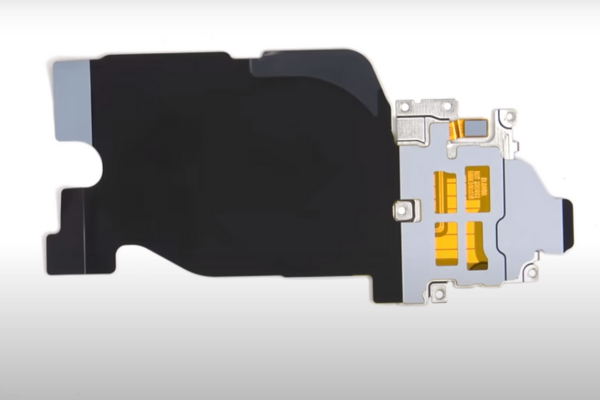
Step 10 Remove The Wireless Charging Coil
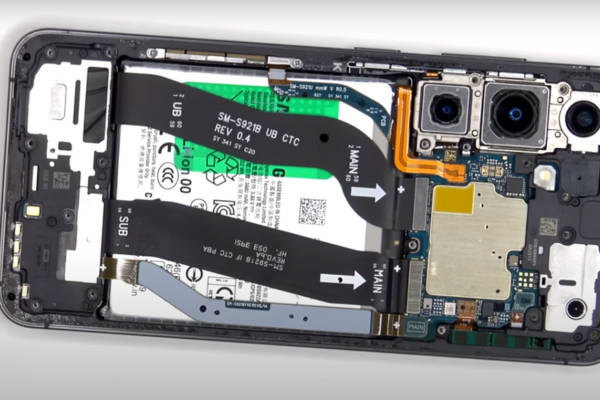
- Use your fingers to hold the wireless charging coil and NFC Antenna assembly.
- Remove the wireless charging coil and NFC Antenna assembly from the phone.
Step 11 Unscrew The Loudspeaker
- Unfasten the screws of loudspeaker with a screwdriver.
- Keep these screws in a safe place.
- Use a spudger to unclip the loudspeaker from its recess.
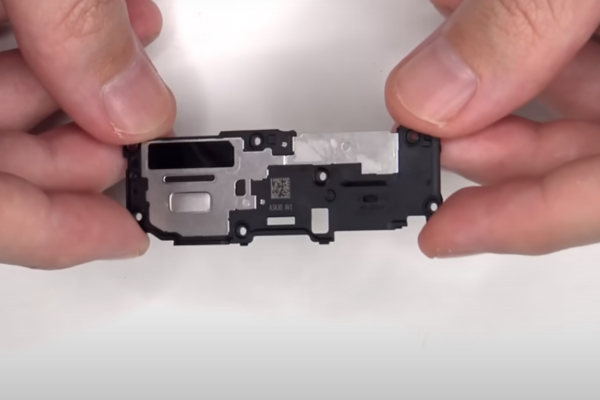
Step 12 Remove The Loudspeaker
- Pry up the loudspeaker from its recess.
- Remove the loudspeaker with the help of a pair of tweezers or your finger.
Step 13 Disconnect The Battery
- Unclip the battery press connector with a spudger.
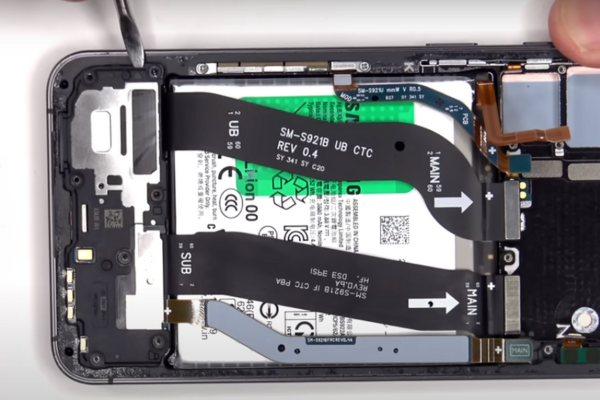
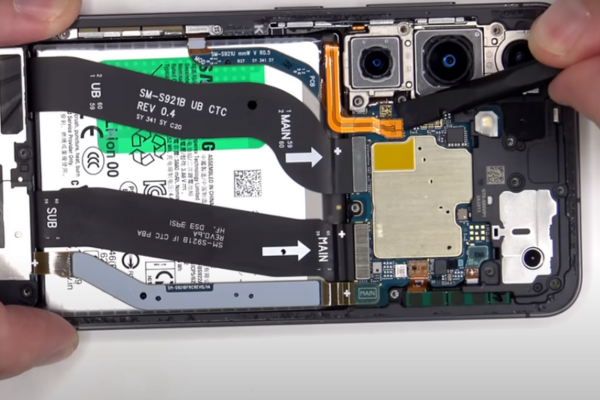
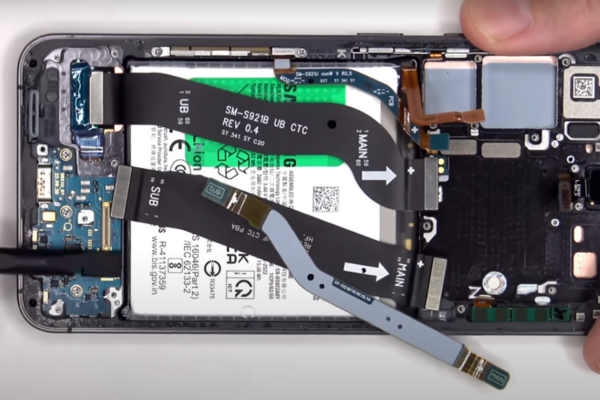
Step 14 Disconnect The Interconnected Cables
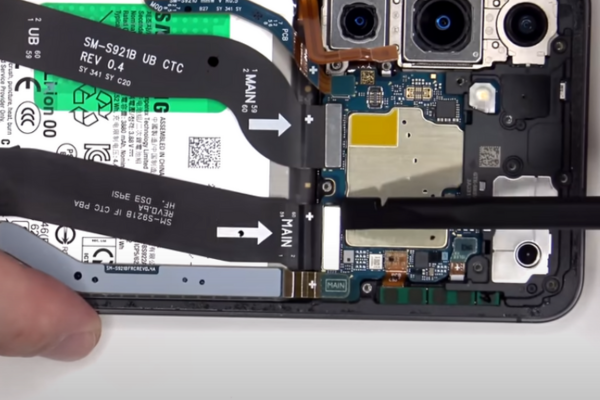
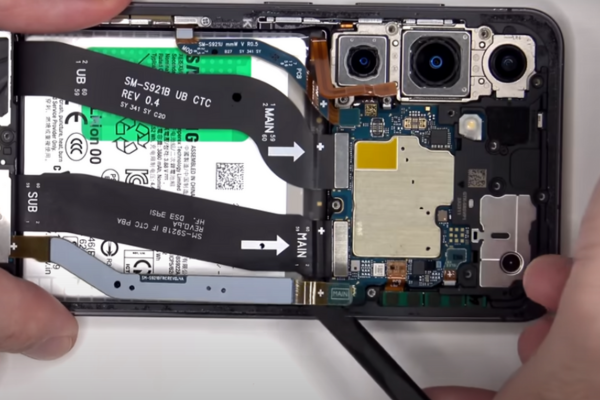
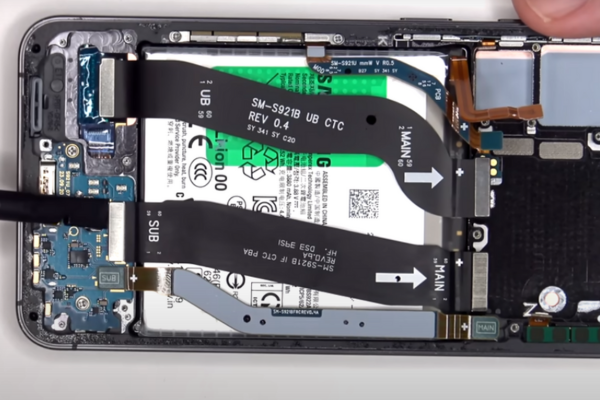
- Two interconnect cables are attached to the motherboard and charging board of the S24.
- Unclip both the interconnect cables from the motherboard and charging board.
- Use your fingers or tweezers to remove these cables.
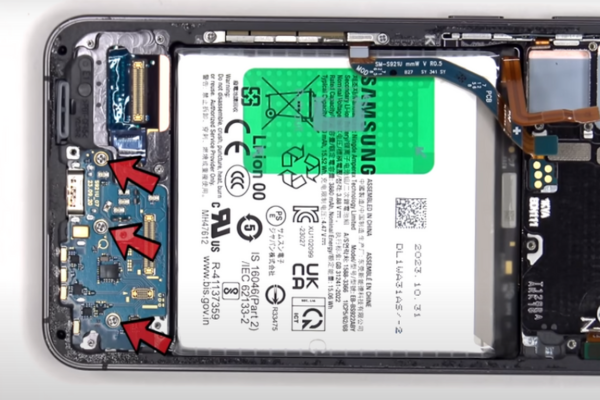
Step 15 Unfasten The Charging Board
- Unscrew the screws of the charging board with the help of a screwdriver.
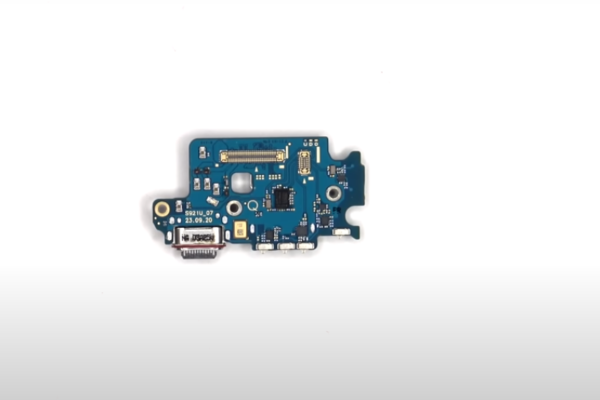
Step 16 Remove The Charging Board
- Use a spudger or prying tool to remove the charging board from its recess.
- Remove the charging board by holding it with your fingers or using tweezers.
Step 17 Install The New Charging Board
- Install the new charging board in its recess.
- Fasten up the screws of the charging board.
Step 18 Reassemble Your S24
- To reassemble your Samsung Galaxy S24, repeat all the above steps in reverse order. Reconnect all the press connectors and fasten up all the screws.
- Clean the old adhesive around the edges of the back cover with isopropyl alcohol.
- Apply new adhesive around the edges of the back cover.
- Attach the back cover with the phone.
Wrapping Up
Excellent job! You have successfully learned how to replace the USB-C Port and Charging Board of your Galaxy S24 with our easy step-by-step instructions. Turn on your S24 and charge your phone to test the new USB-C port and charging board.

